
iMovie Vertical Video: How to Make 9:16 Videos on Mac and iPhone
iMovie vertical video explained: why iMovie adds black bars, the App Preview workaround on Mac, the rotate trick on iPhone, and how to export 9:16 for TikTok and Reels.


iMovie vertical video is possible, but not in a normal project: iMovie's regular movie projects are widescreen 16:9 on both Mac and iPhone, so a vertical clip gets black bars on each side. On Mac, the workaround is an App Preview project (File > New App Preview), which keeps a vertical clip vertical. On iPhone, you either rotate the clips and fix the orientation in Photos afterwards, or crop the exported video to 9:16.
None of these is a "vertical" button, and each has a catch. Below is how each one works, what it costs you in quality, and which to use for TikTok, Instagram Reels, and YouTube Shorts.
Disclosure: We make BlitzCut, a video editor for Mac, iPhone, and iPad that edits in 9:16 natively. iMovie details below follow Apple's current guides (iMovie 10.4.4 for Mac and iMovie 3.0.6 for iPhone and iPad), checked in November 2026.
Can iMovie do vertical video?
Not directly. Apple's iMovie guides don't document an aspect-ratio or orientation setting for movie projects on Mac or iPhone, and the Mac crop tool is locked to widescreen: Apple's crop guide says the crop frame "is constrained to a 16:9 aspect ratio."
So when you drop a 9:16 iPhone clip into a normal iMovie project:
- With Fit, you see the whole vertical clip with black bars on the left and right.
- With Crop to Fill, iMovie zooms in to fill the 16:9 frame, cutting off the top and bottom of your vertical shot.
Either way, the file you export is horizontal. Upload it to TikTok or Reels and it plays as a small strip in the middle of the screen.
iMovie vertical video options at a glance
| Method | Where | Exports true 9:16? | Quality | Catch |
|---|---|---|---|---|
| App Preview project | Mac | Yes | Full resolution if you export at the highest setting | Fewer titles, transitions, and backgrounds |
| Rotate trick | iPhone and iPad | Yes, after rotating in Photos | Full resolution | Clips look sideways while you edit; titles end up sideways |
| Crop the export to 9:16 | iPhone, iPad, or Mac | Yes | Loses about two-thirds of the pixels | Softer image, especially from a 1080p export |
| Normal project with black bars | Mac or iPhone | No | Full resolution, but tiny on a phone | Looks unfinished on TikTok, Reels, and Shorts |
| A vertical-native editor | Any | Yes | Full resolution | Another app |
How to make vertical video in iMovie on Mac (App Preview)
App Preview projects exist so app developers can make App Store preview videos from iPhone screen recordings, which are vertical. They also work for any vertical footage. Apple documents creating one in its App Preview guide:
- In iMovie, choose File > New App Preview. If a dialog appears, click OK.
- iMovie opens a new, empty App Preview project.
- Add a vertical clip first. The first clip you add sets the project's shape and resolution, according to MacMost's tutorial. If the first clip is horizontal, the project stays horizontal.
- Add the rest of your clips, then trim, split, and add music as usual. The viewer window stays wide, but the project itself is vertical.
- Choose File > Share > File (Apple: export a movie as a file).
- In the Resolution menu, pick the highest option offered, then click Next and Save.
Why the highest resolution matters: iMovie's "1080p" setting means 1080 pixels tall, just as it does for a widescreen video, so a vertical frame comes out narrow. In MacMost's test, a vertical project exported at "1080p" came out at only 608×1080, while choosing 4K produced the full 1080×1920 from a 1080×1920 source. Check your file in QuickTime Player with Window > Show Movie Inspector before you upload.
What you give up: Apple says some titles and transitions aren't available in App Preview projects, and only solid-color backgrounds are. If you need a title style that's missing, you can copy a title from a normal project and paste it into the App Preview project.
Already edited in a normal project? Move it to App Preview
- Create a new App Preview project and add one vertical clip first.
- Open your normal project, select all clips in the timeline (Command-A), and copy (Command-C).
- Go back to the App Preview project and paste (Command-V).
- Play through the project and check each clip's framing before you export.
How to make vertical video in iMovie on iPhone
iMovie for iPhone and iPad has no App Preview project, and Apple's guide doesn't document an orientation or aspect-ratio setting for Magic Movie, storyboard, or movie projects. Vertical clips in a movie project get black bars on the sides. There are two workarounds.
Option 1: The rotate trick (keeps full quality)
This turns each vertical clip sideways so it fills the widescreen frame, then turns the finished video upright in Photos. It's described in detail by TapSmart:
- Make your edits first: trim, split, and reorder the clips.
- Select a clip and twist two fingers on the viewer, as if turning a dial, then let go when the rotate arrow appears. iMovie turns the clip 90 degrees so it fills the frame.
- Do the same for every clip, turning them all the same direction.
- Tap Done, tap the Share button, and tap Share Video. Tap Options, pick the highest resolution offered, tap Done, then tap Save Video (Apple: share your movie as a video file).
- Open the video in Photos, tap Edit, tap the crop tool, and tap the rotate button until the video is upright. Tap Done.
The result is a true vertical video at full resolution. The downsides: everything looks sideways while you edit, and any titles you added in iMovie will end up sideways too, so add text afterwards in another app.
Option 2: Crop the export to 9:16 (simpler, lower quality)
- Edit as normal in iMovie, with your vertical clips set to fit (black bars on the sides).
- Export at the highest resolution offered, ideally 4K.
- In Photos, tap Edit, tap the crop tool, choose a 9:16 vertical shape, and line the frame up with your clip.
The math is the problem: the vertical part of a widescreen frame is only about a third of its width. From a 1080p export you end up with roughly a 608×1080 video, which looks soft on a phone. From a 4K export it's about 1215×2160, which holds up much better.
Vertical video for TikTok, Reels, and Shorts: what to aim for
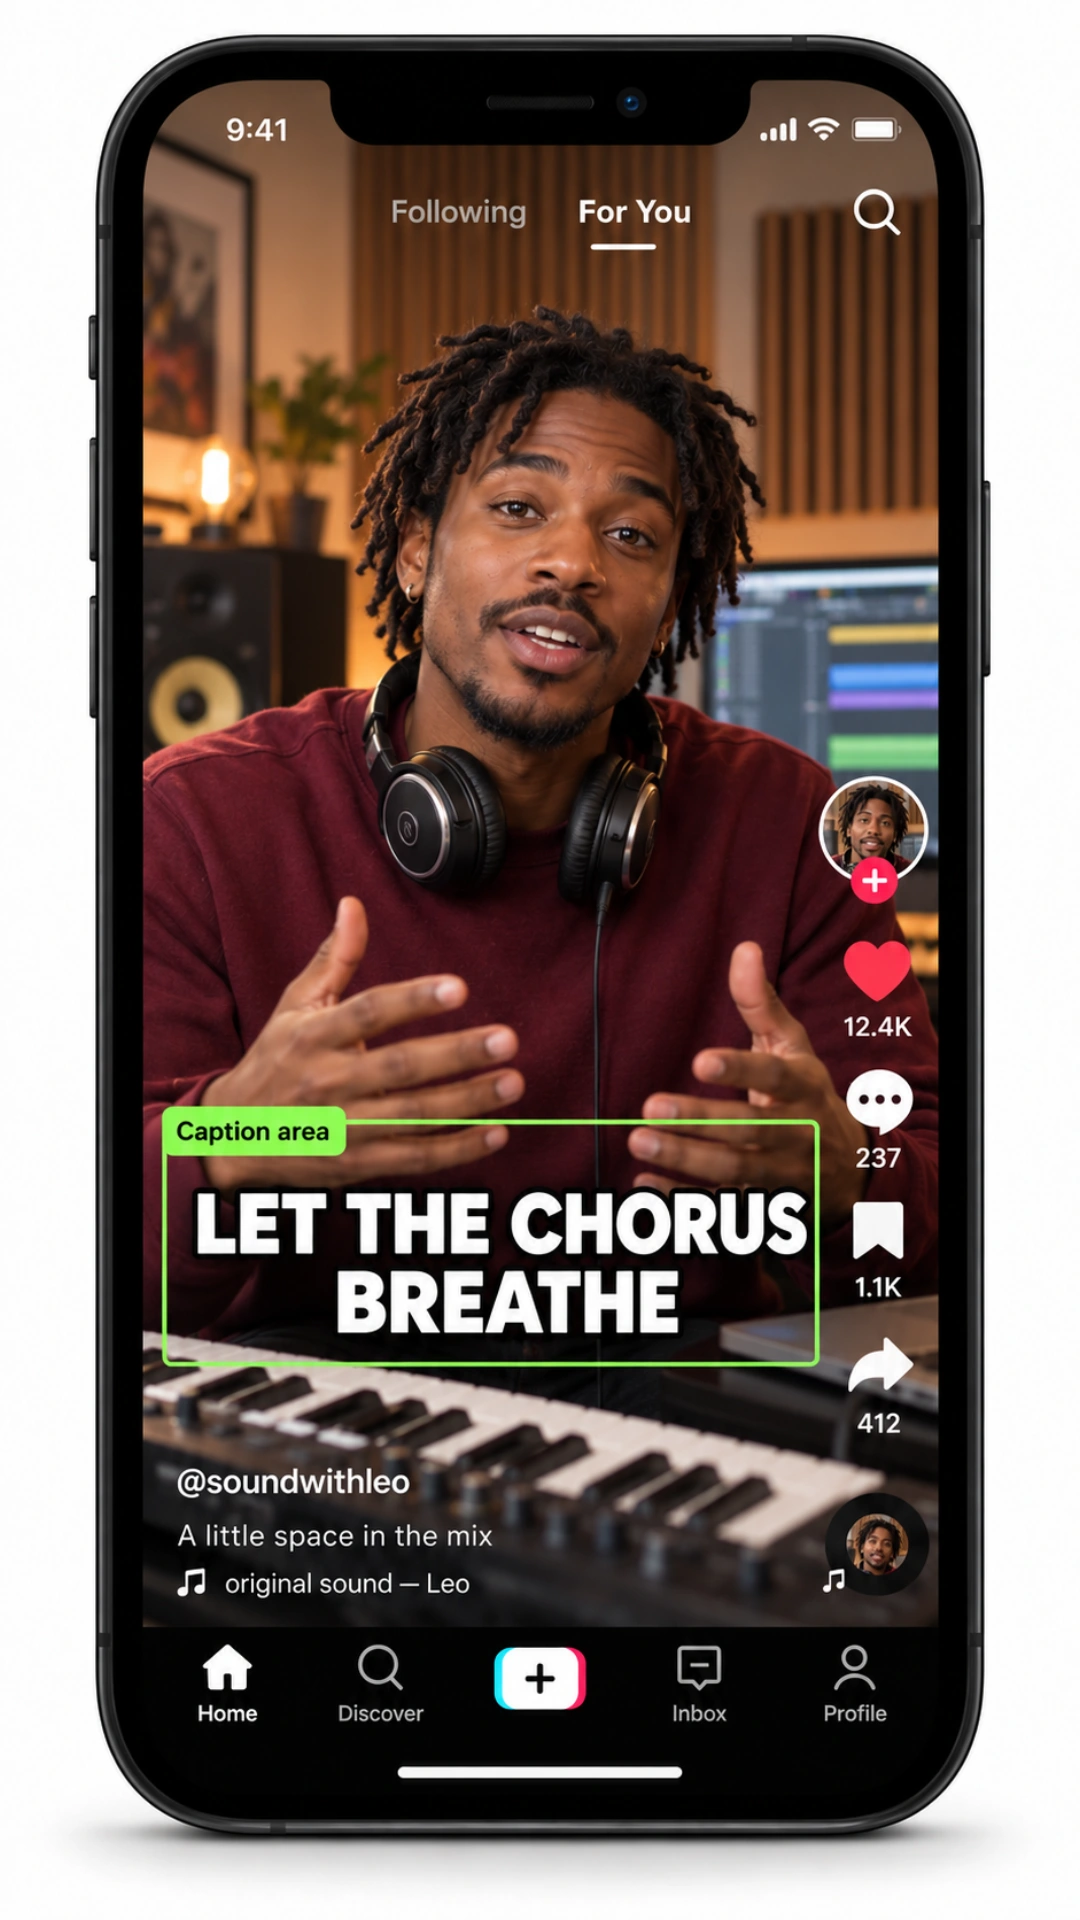
All three platforms are built around full-screen 9:16 vertical video, and 1080×1920 is the usual target. A few things to check before you post an iMovie export:
- No black bars. A 16:9 file with a vertical clip in the middle plays small and looks like a mistake on a phone.
- Resolution at least 1080×1920 if you can. Anything that starts at 608 pixels wide will look soft once the app compresses it.
- Keep text and faces away from the edges. The bottom and right side of the screen are covered by captions and buttons. See safe zones for Shorts, Reels, and TikTok.
- Check the specs for each platform in our social video specs guide.
Common iMovie vertical video problems
Black bars on both sides. You're in a normal 16:9 project. Use an App Preview project on Mac, or one of the iPhone workarounds above.
My vertical video got zoomed in and cut off. The clip is set to Crop to Fill. On Mac, select it, click the Cropping button, and click Fit to see the whole clip again.
The App Preview project turned out horizontal. The first clip you added was horizontal. Start a new App Preview project and add a vertical clip first.
The 1080p export option is greyed out. Your source clips are lower than 1080p. Export at the highest option available.
My clip is sideways. On Mac, select it, click the Cropping button, then Rotate Clockwise or Rotate Counterclockwise, and click Apply (Apple: rotate clips). On iPhone, twist two fingers on the viewer.
Text sits in the wrong place after cropping. Text near the edges of a widescreen frame gets cut off when you crop to 9:16. Keep titles in the center third of the frame, or add text after cropping. See how to add text in iMovie.
Faster option: an editor that works in 9:16 from the start
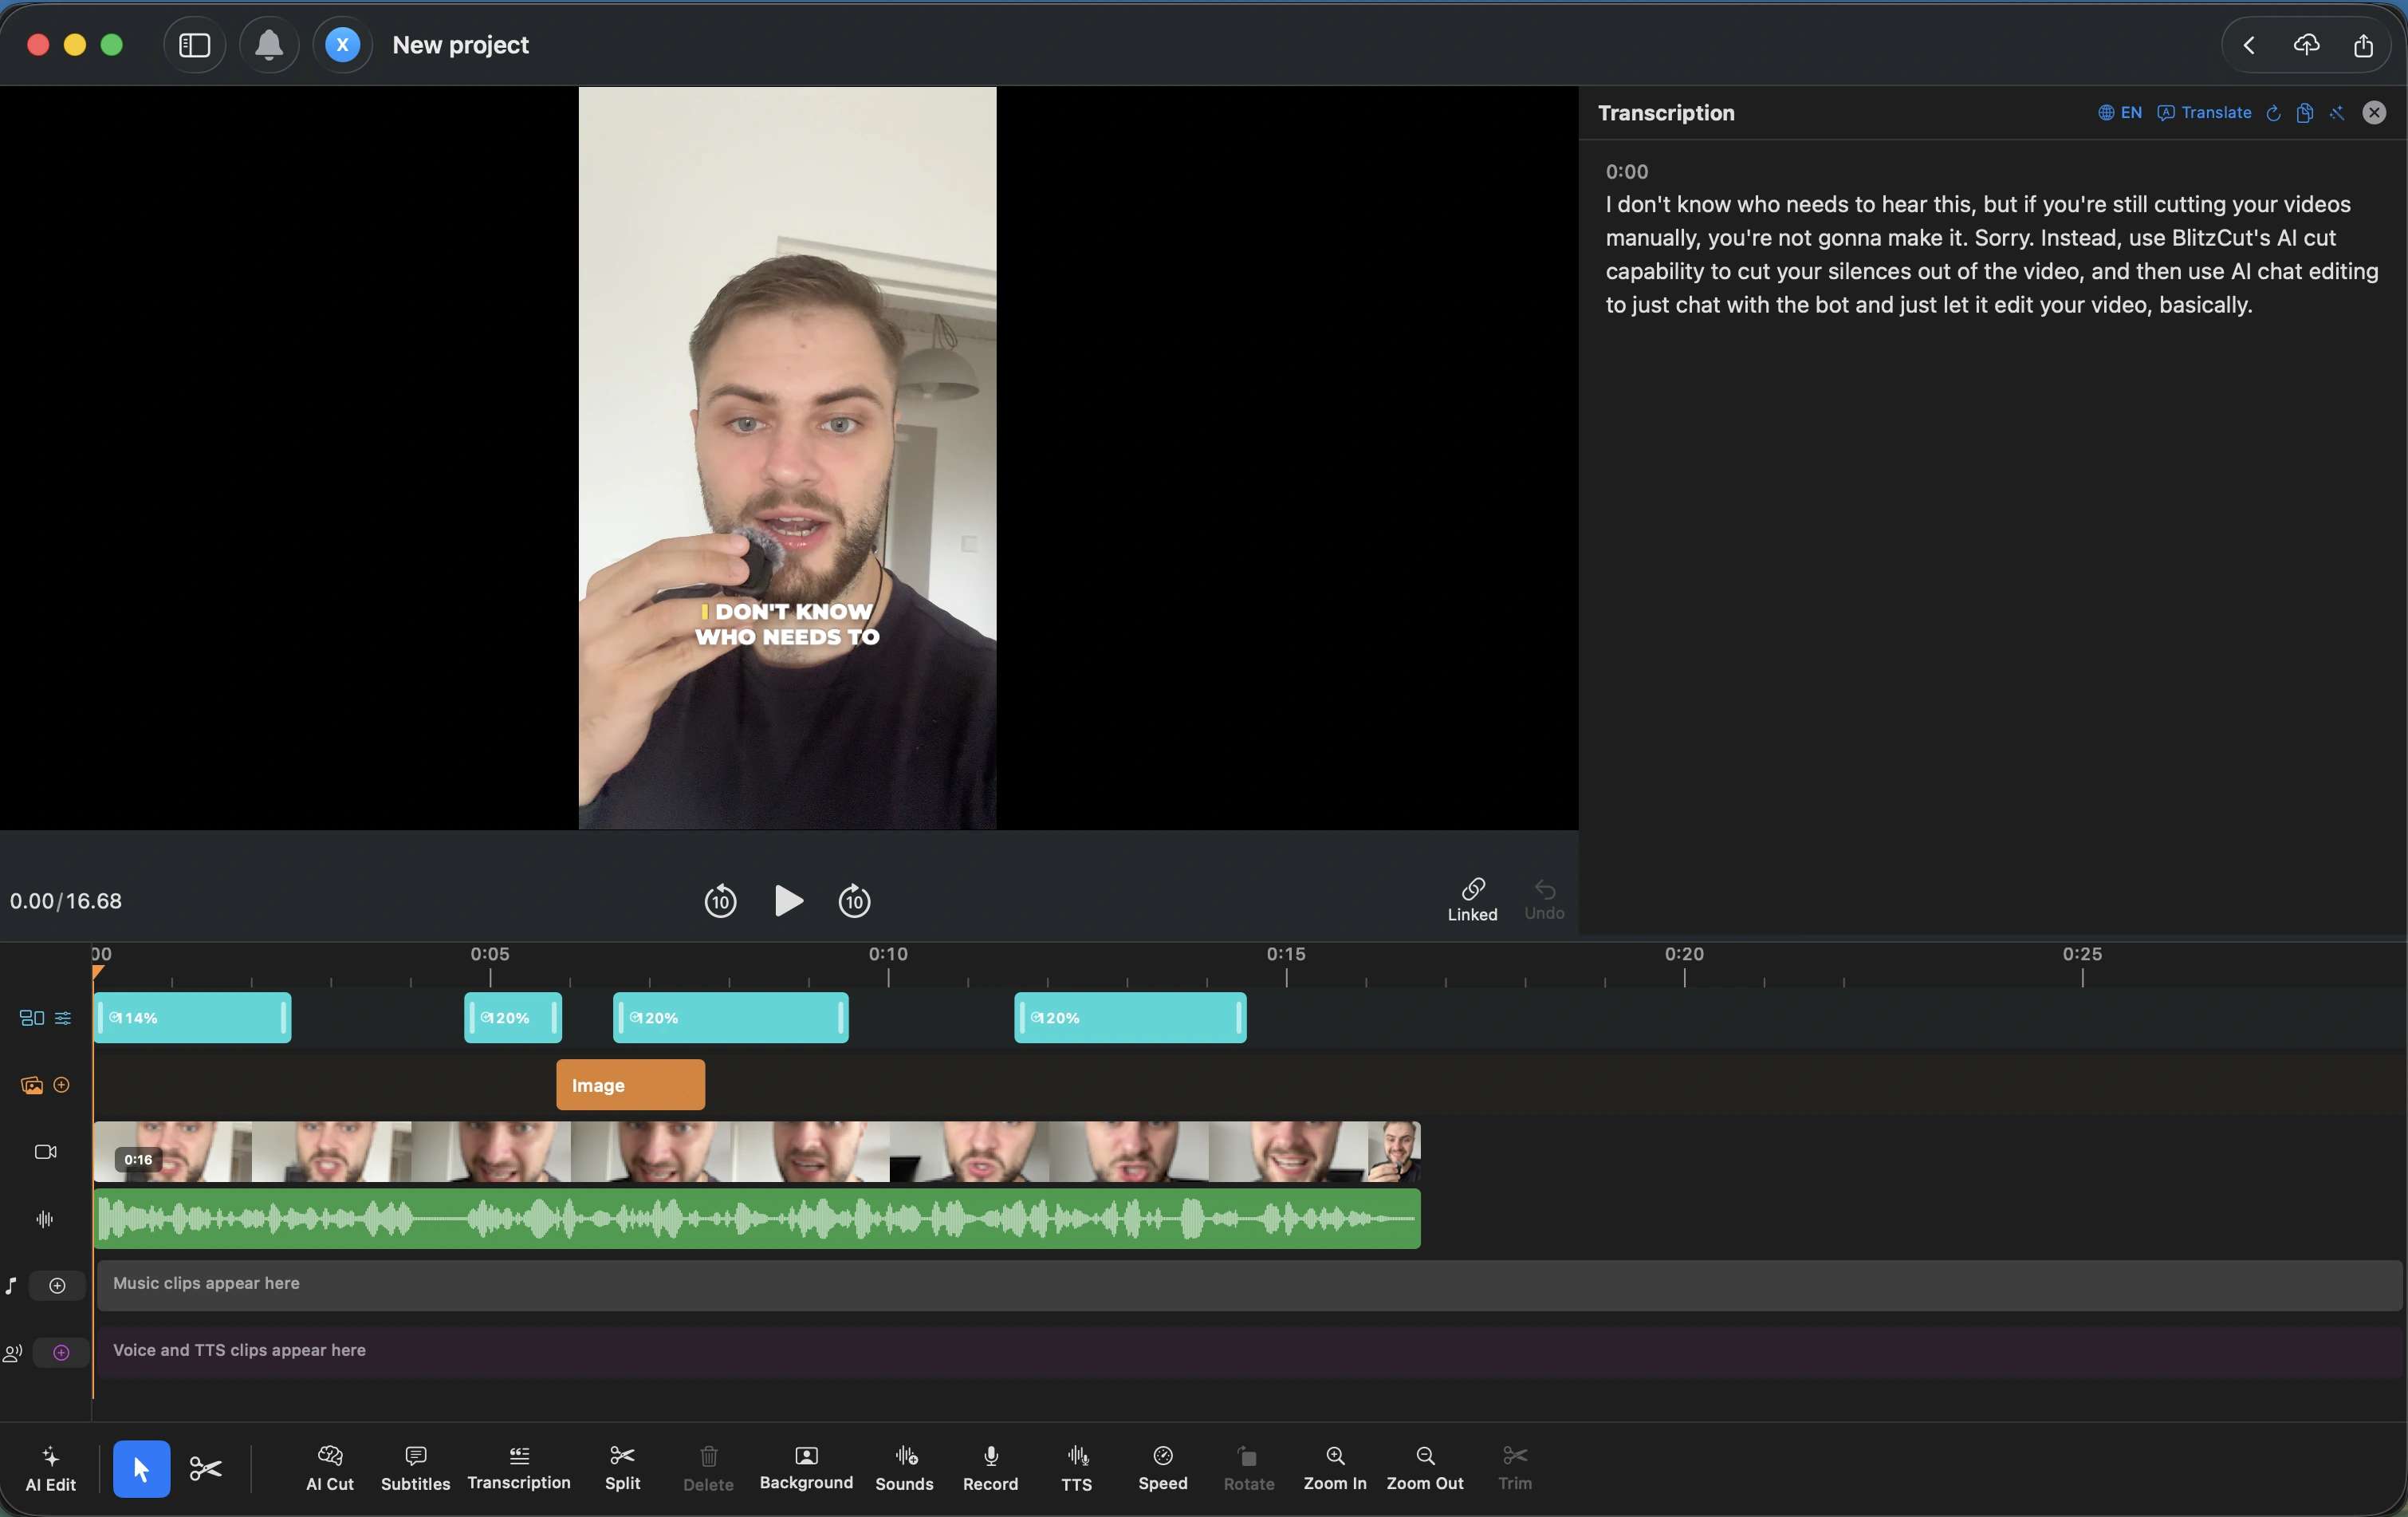
If most of what you make is vertical, the workarounds add up. BlitzCut has 9:16, 1:1, and 16:9 presets, so a vertical clip stays vertical with no black bars and no rotating. When you need to turn horizontal footage vertical, it crops to 9:16 with speaker tracking to keep the person in frame, and a safe-zone preview shows what TikTok, Reels, and Shorts will cover before you export.
It also removes pauses automatically and adds word-by-word animated captions, which is most of the work on a talking video. BlitzCut runs on Mac and on iPhone and iPad (BlitzCut for iOS), with a free 3-day trial. For the full comparison, see BlitzCut vs iMovie, or how to export vertical video on Mac for other Mac options.
Frequently Asked Questions
Can iMovie edit vertical video?
Yes, but normal iMovie projects are 16:9, so vertical clips get black bars. On Mac, use File > New App Preview and add a vertical clip first to keep the project vertical. On iPhone, rotate the clips in iMovie and turn the finished video upright in Photos.
How do I make a vertical video in iMovie on Mac?
Choose File > New App Preview, add a vertical clip as the first clip, edit as usual, then choose File > Share > File and export at the highest resolution offered. Check the result in QuickTime's Movie Inspector; it should be 1080×1920 for a 1080p vertical source.
How do I make a vertical video in iMovie on iPhone?
iMovie for iPhone has no vertical project. Either twist two fingers on the viewer to rotate each clip 90 degrees, export, and rotate the video upright in Photos, or export at 4K and crop it to 9:16 in Photos.
Why does iMovie add black bars to my vertical video?
Because iMovie movie projects are widescreen 16:9. A tall clip is fitted inside that frame, and the empty space on each side is filled with black.
How do I get rid of black bars in iMovie?
Either fill the frame with Crop to Fill, which cuts off part of a vertical clip, or keep the video vertical with an App Preview project on Mac or the rotate trick on iPhone.
Can iMovie export 1080×1920?
Yes, from an App Preview project on Mac, if your source is 1080×1920 and you pick the highest resolution when exporting. Choosing 1080p can give you a smaller 608×1080 file instead.
Is iMovie good for TikTok and Reels?
It works for occasional vertical videos, but every route to 9:16 is a workaround. If you post vertical video often, an editor with a native 9:16 project saves time.
Related: How to Export Vertical Video on Mac · How to Add Text in iMovie · How to Trim Video in iMovie · Safe Zones for Shorts, Reels, and TikTok · How to Export iMovie to MP4
Editing a talking-head video?
BlitzCut is available on Android, iPhone, iPad, and Mac. It is designed for recorded UGC-style videos, founder-led ads, tutorials, and testimonials and other talking-head content.
Try it for freeRelated Articles
Keep Reading

How to Add Captions to Instagram Reels (Automatically)
How to add captions to Instagram Reels: use the Captions sticker for free auto captions, or burn in styled word-by-word captions with Edits, CapCut, or BlitzCut. Steps for each.

How to Add Captions to a Podcast Video on Mac
How to add captions to a podcast video on Mac: burned-in captions for TikTok, Reels, and Shorts clips, and SRT subtitles for full YouTube episodes. Steps for BlitzCut, Descript, and Final Cut Pro.

How to Add Subtitles to a Video on Mac (Automatically)
How to add subtitles to a video on Mac automatically with Final Cut Pro, Premiere Pro, CapCut, or BlitzCut, plus a free method using MacWhisper and HandBrake. iMovie can't do it.