
OBS Screen Recorder: Record a Local Tutorial
Set up OBS screen recorder for a local tutorial with screen, camera, and microphone sources, OS permissions, an audio check, and an MKV-to-MP4 workflow.


OBS screen recorder lets you capture a local tutorial with your screen, microphone, and optional camera without starting a livestream.
Use OBS Studio to record the demonstration first, then edit the saved file if needed. The steps below were checked against official documentation on October 21, 2026; they were not device-tested. Source names and permissions depend on your operating system and OBS version.
Set up OBS screen recorder for local recording
Download OBS Studio from obsproject.com, choosing your operating system. Open Tools → Auto-Configuration Wizard and choose its recording-focused setup. Review the suggested settings for your computer rather than copying someone else's hardware encoder settings.
Create a scene named for the tutorial. Think of a scene as the arrangement of sources you want in the final picture: a demonstration window, possibly a camera, and the relevant audio.
In Settings → Output, choose a recording path you can find and check available storage. You will use Start Recording, not a streaming service connection. These initial steps follow the official OBS Quick Start Guide.
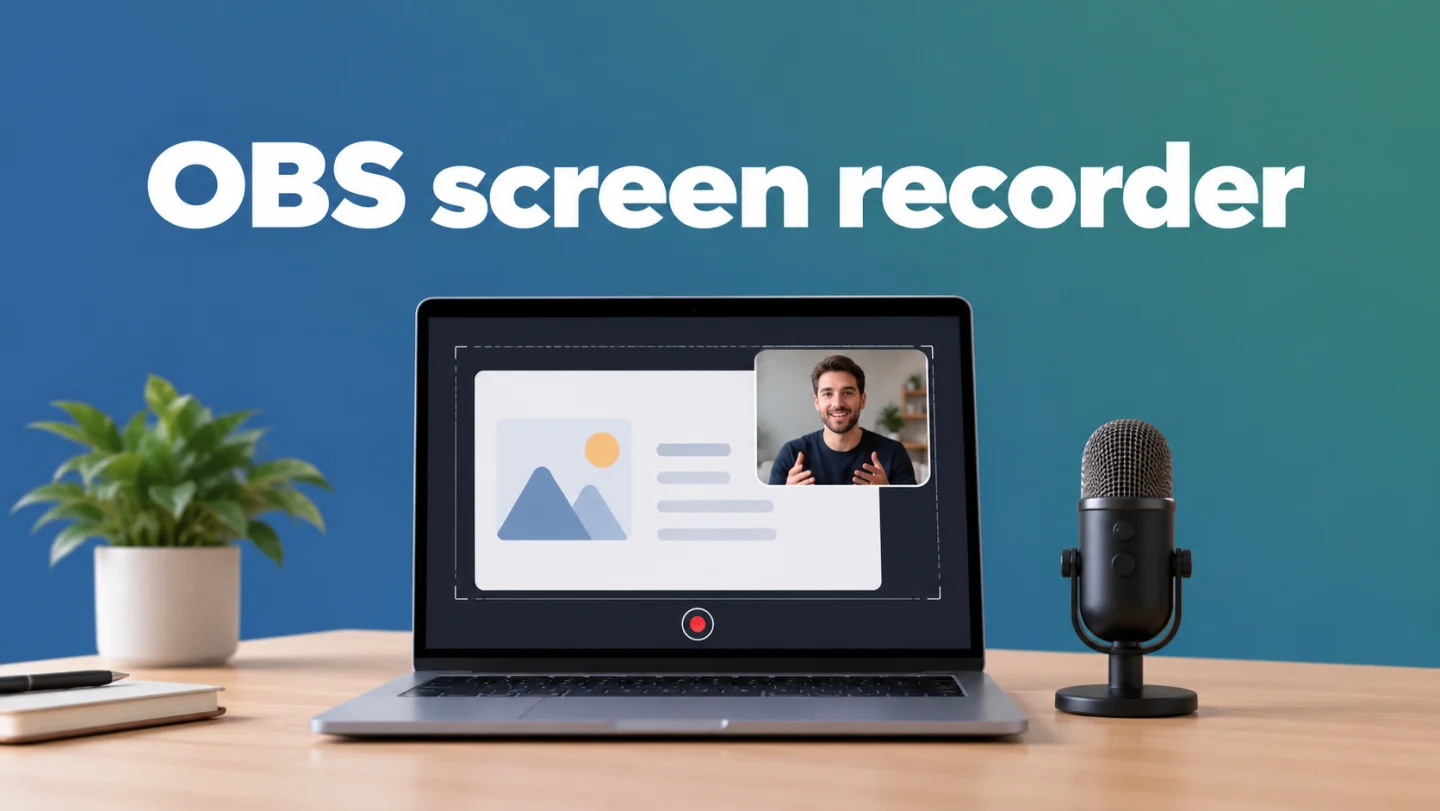
Add the display, window, and camera sources
In the Sources dock, use + to add the picture you need:
| What you want to show | Source to choose |
|---|---|
| Entire desktop on Windows or Linux | Display Capture |
| One application window on Windows or Linux | Window Capture |
| Display, window, or application on Mac | macOS Screen Capture |
| Optional webcam | Video Capture Device |
The platform choices are documented in OBS's Quick Start Guide. On Mac, choose the capture method and target within the source's properties; the macOS Screen Capture documentation explains those options.
Position the demonstration to fill the canvas without stretching it. If adding a webcam, place it above the screen source in the source list and resize it so it does not cover menus or the action being taught.
Choose a window when it contains the whole lesson. Use display capture when you need to move between apps, but first close private tabs, hide notifications, and replace customer information with demo data. Preview the actual selected source before recording.
Grant the permissions your system needs
On Mac, open OBS Studio → Review App Permissions. Enable Screen Recording for desktop/window capture, Camera for a webcam, and Microphone for audio devices. OBS also documents Accessibility permission for shortcuts while another app is foremost. Grant what your workflow needs using its macOS Permissions Guide.
On Windows 11, check Settings → Privacy & security → Camera or Microphone if a device is unavailable, including desktop-app access. Microsoft's camera and microphone privacy guide explains the controls; Windows 10 uses different Settings labels.
On Linux, capture options vary with the desktop session and installed build. Select the sources your version exposes and check the preview before continuing. A black preview is a reason to investigate the source or permissions, not to record the whole lesson and hope the export fixes it.
Select audio deliberately and prevent duplicates
Open Settings → Audio and select the intended microphone. Speak while watching the Audio Mixer, then play a short sound from the demonstration if you intend to include computer audio. A moving microphone meter does not prove application sound is captured.
Mac behavior depends on versions: OBS 30 and later on macOS 13 or later provides a macOS Audio Capture source for desktop or application audio. OBS 28/29 on macOS 13 can capture audio through macOS Screen Capture. Older macOS versions may require additional audio-routing software. Check the official macOS audio guide before installing anything; this basic workflow does not require unknown plugins.
Capture each device through one intended route. For example, adding the same microphone as both a global device and a separate source can create duplicated sound. Use headphones during the check so speaker playback does not feed back into the microphone.
Choose MKV, then remux when you need MP4
For a straightforward documented route, select MKV as the recording format in Settings → Output. OBS's Standard Recording Output Guide recommends it because an interrupted recording need not corrupt the entire file.
After recording, choose File → Remux Recordings, select the MKV, and choose Remux to create MP4. The same guide documents optional automatic remuxing under Settings → Advanced. Keep the original until the MP4 plays correctly and imports into your editor.
Newer versions also offer resilient hybrid formats. Hybrid MP4 arrived in OBS 30.2; Hybrid MOV in 32.0, according to the hybrid formats guide. Current format documentation identifies Hybrid MP4 as the Windows/Linux default and Hybrid MOV as the macOS default. Existing profiles can retain other choices.
Traditional MP4's interruption risk should not be generalized to Hybrid MP4. Use the MKV route above or test the hybrid option your installed version offers. For a separate MOV delivery question, see MOV-to-MP4 conversion.
Remuxing preserves the codecs. For MP4 delivery, check their compatibility in OBS's formats guide; changing the wrapper alone cannot fix an unsupported codec.
Record a short test and listen to the file
Record one or two minutes covering the actions you will actually demonstrate. Speak, change windows if needed, and play a relevant application sound. Stop recording and open the saved file.
Check screen readability, webcam placement, speech clarity, application audio, and synchronization. Listen for missing sound, echoes, clipping, or speech being overwhelmed. Play the beginning and ending; a live meter alone is insufficient.
If the file is too large, use the video file size calculator for a bitrate-and-duration estimate. Quality-based recording varies with the content, so compare the estimate with the actual test file before planning storage for a longer lesson.
Polish the spoken explanation afterward
Once capture works, record the tutorial and preserve the original. A supplied talking-head introduction, founder walkthrough, UGC explanation, or testimonial can benefit from transcript editing and carefully reviewed pause removal afterward.
BlitzCut is an optional installed editor for iPhone, iPad, and Mac, free to download with paid features. Its App Store listing and history document transcript editing, adjustable silence removal, timeline editing, images/audio, and captions. Check that your recording imports successfully before committing to that workflow.
BlitzCut is available for Windows, iPhone, iPad, Mac, and Android. Check Android features and purchase terms separately; Apple workflows and App Store prices in this article apply to the Apple apps.
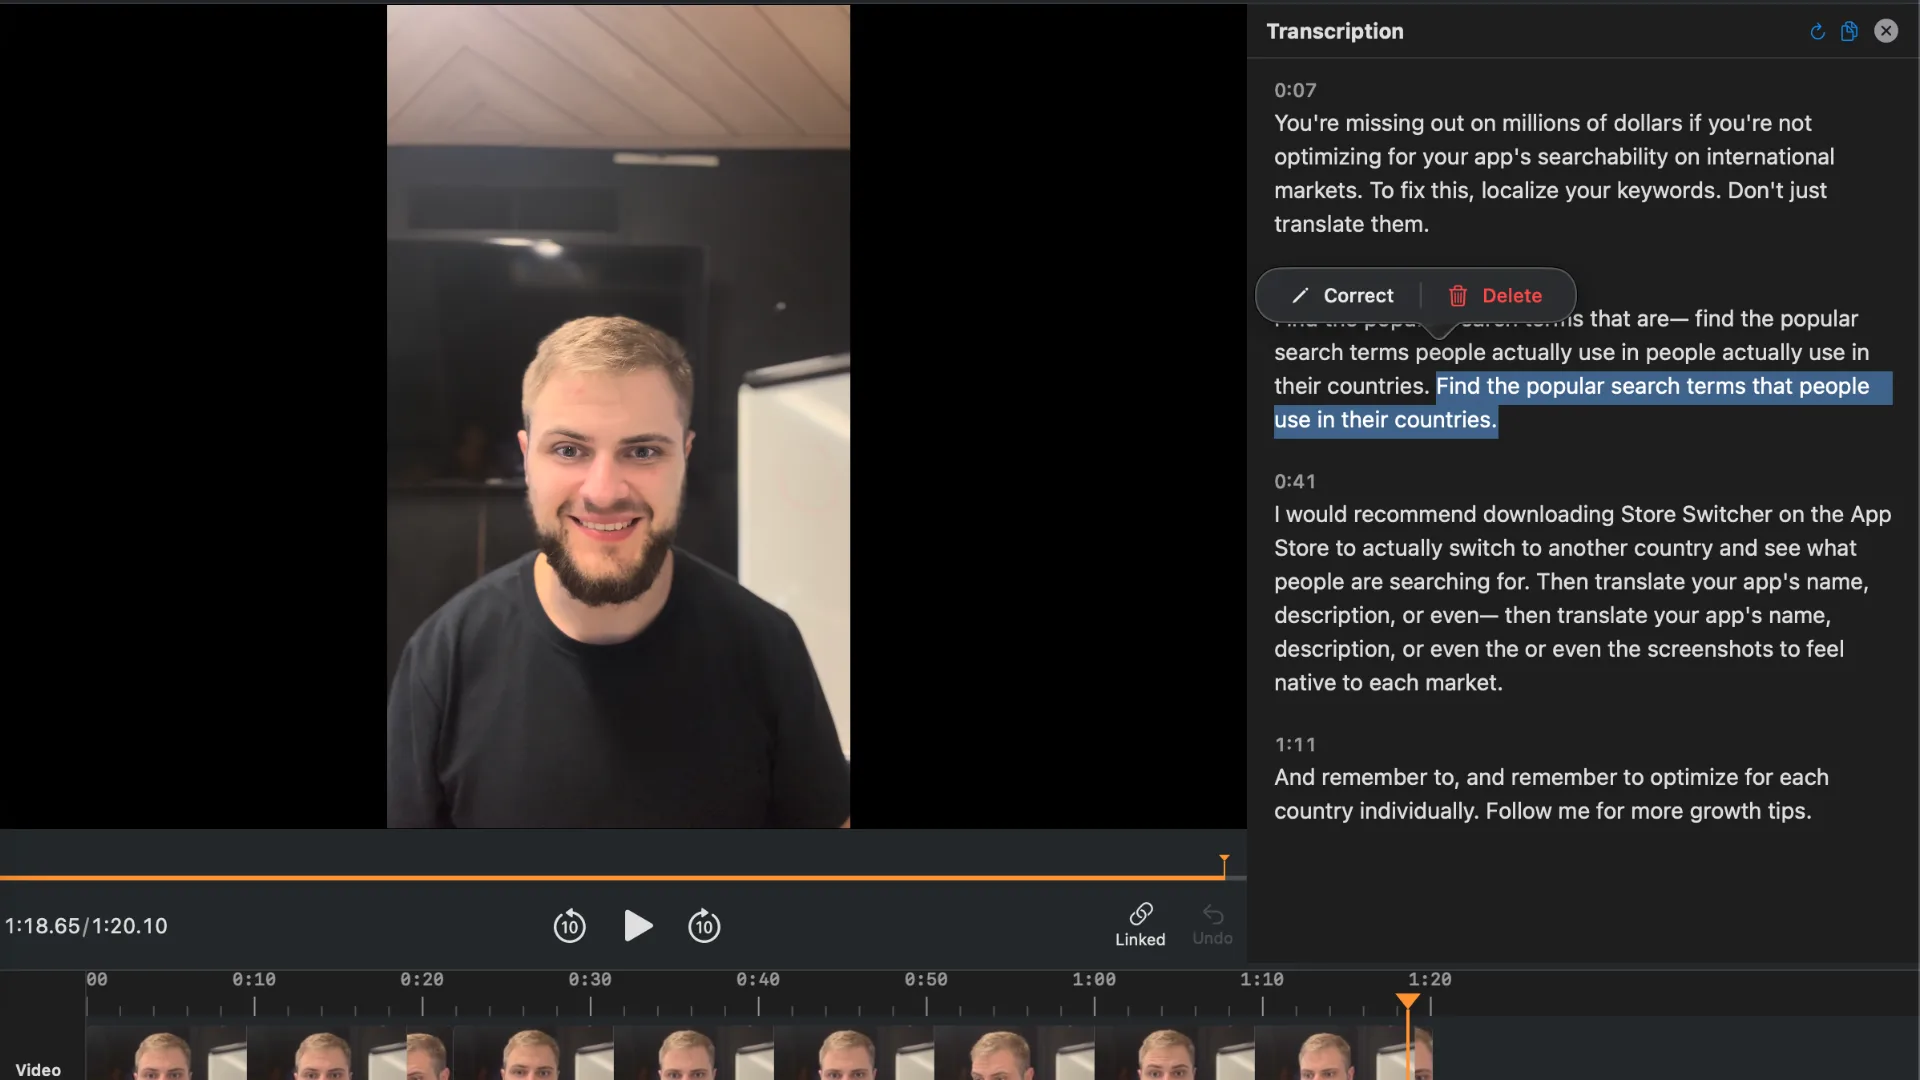
Preserve quiet stretches that show a cursor action, loading result, or physical demonstration. Removing every silence can remove part of the lesson. Review the cuts and captions against the picture before exporting.
Frequently Asked Questions
Do I have to stream to record with OBS?
No. Start Recording saves locally; a streaming connection is unnecessary.
Why is my microphone missing from the recording?
Check the selected input, OS permissions, mute state, and saved test file. The intended device must be included in the recording.
Should I avoid every MP4 recording option?
No. Hybrid MP4 is designed for resilience as well as compatibility. Check the exact format and installed OBS version.
Does remuxing make the recording smaller?
It changes the container, not the intended picture quality or bitrate. Plan storage using a representative test recording.
Editing a talking-head video?
BlitzCut is available on Windows, Android, iPhone, iPad, and Mac. It is designed for recorded UGC-style videos, founder-led ads, tutorials, and testimonials and other talking-head content.
Download BlitzCutRelated Articles
Keep Reading

Black Friday 2026 Video Editing Software Deals: CapCut, DaVinci, Final Cut, Descript and More
Every Black Friday 2026 video editing software deal we could verify: DaVinci Resolve, CapCut, Final Cut Pro, Adobe, Descript, Filmora, BlitzCut, plus what each did last year.

BlitzCut vs Kapwing: App and Browser Editing Compared
Compare BlitzCut and Kapwing for talking-head ads, tutorials, and team content, including Smart Cut, transcript editing, captions, and usage limits.

BlitzCut AI vs KineMaster: Captions and Editing (2026)
Compare KineMaster’s free on-device captions and layered editing with BlitzCut’s recorded talking-head workflow, including export and pricing checks.