How to Edit Talking Head Videos Fast: Beginner Workflow (2026)
Cut talking head editing from 3 hours to 30 minutes — silence removal, filler cuts, captions, and export with the best tools in 2026.

Editing a talking head video fast in 2026 means one thing: stop doing manually what AI does in seconds. The fast workflow is six steps — import, silence removal, filler word cleanup, captions, b-roll, export — and with the right tools, a 10-minute talking head video goes from raw recording to published in under 30 minutes.
Talking head video is the backbone of YouTube tutorials, podcasts, TikToks, LinkedIn content, and course material. It's also one of the most tedious formats to edit manually — because raw recordings are full of dead air, ums, and starts-that-never-finished.
The difference between a creator who spends 4 hours editing a 10-minute video and one who spends 25 minutes isn't talent. It's workflow.
This guide covers the full workflow: what to do, in what order, and which tools to use at each step.
What Is a Talking Head Video?
A talking head video is any footage where a person speaks directly to the camera with their head and upper body in frame. The format covers tutorials, product reviews, commentary, educational content, interview-style pieces, and social media clips.
It's the dominant format online because it's low-barrier to produce — you need a phone, decent light, and something to say. The challenge is in the editing: removing the parts that make the video feel unpolished.
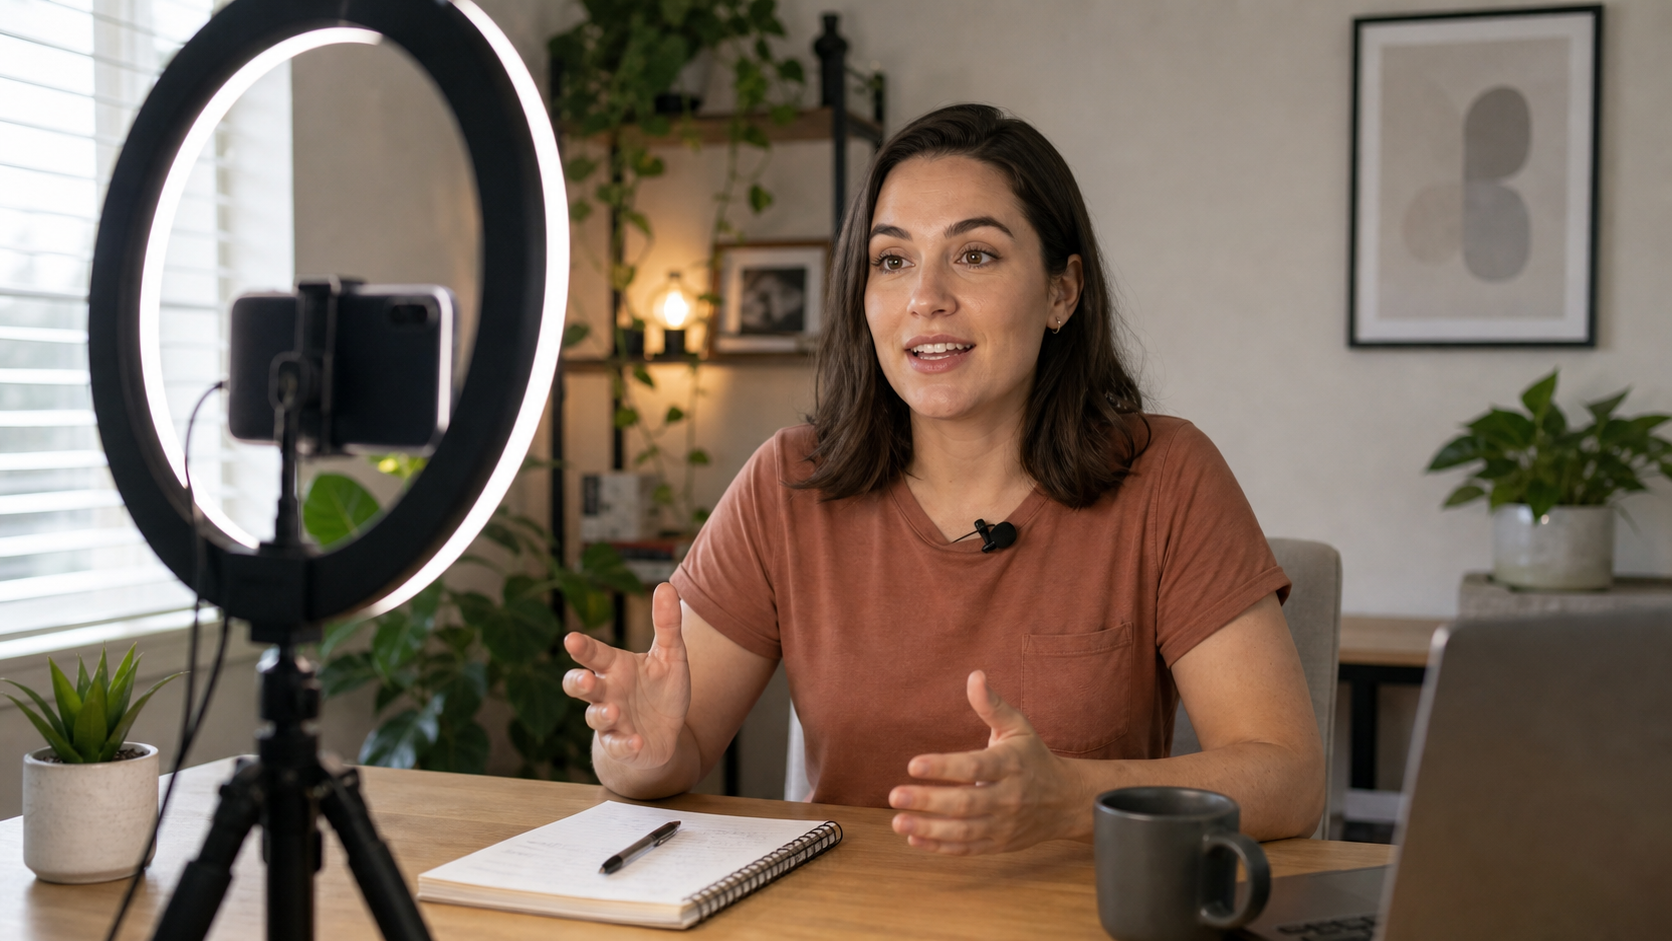
Talking head video starts at the camera. Good lighting and a clean background cut post-production time significantly.
Why Most Beginners Edit Slowly
Before covering the fast workflow, it's worth naming what slows people down.
Manual silence scrubbing. Opening a timeline, playing the video, pausing every time you hear dead air, cutting the clips, closing the gaps. For a 15-minute recording, this alone takes 45–90 minutes.
Listening for filler words. "Um," "uh," "you know" — every one requires a pause, a cut, a delete. At 4–8 fillers per minute in typical recordings, that's hundreds of manual edits.
Export guessing. Wrong aspect ratio for the platform. Wrong resolution. Wrong frame rate. Re-export, re-upload, repeat.
Over-polishing too early. Adding transitions and music before the rough cut is done. Then the structure changes and all the work was wasted.
The fast workflow eliminates the first three problems with tools and solves the fourth with order of operations.
The 6-Step Fast Workflow
Step 1: Record with Editing in Mind (5–15 minutes)
The fastest editing session starts before you open an editor. A few habits at the recording stage slash edit time dramatically.
Prep your key points. You don't need a full script. A 3–5 bullet outline of what you're covering gives your brain somewhere to go when you'd otherwise fill dead air. Creators who record from outlines produce 40–60% fewer filler words than those who wing it.
Use a clean background. A wall, a bookshelf, or a simple backdrop. Busy backgrounds are distracting and reduce perceived production quality — you can't fix that in editing.
Get light on your face. Face a window, or place a ring light in front of you. This is the single highest-leverage production upgrade. Bad lighting can't be corrected in post. Good lighting makes every frame usable.
Use an external microphone. Even a $20 clip-on lavalier mic is a massive upgrade over built-in phone audio. Viewers tolerate average video. They don't tolerate bad audio — and bad audio means more unusable takes.
Speak slowly, pause silently. When you lose your thought, stop speaking and think silently — don't fill the gap with "um." Silent pauses cut clean. Filler-word pauses require extra editing steps.
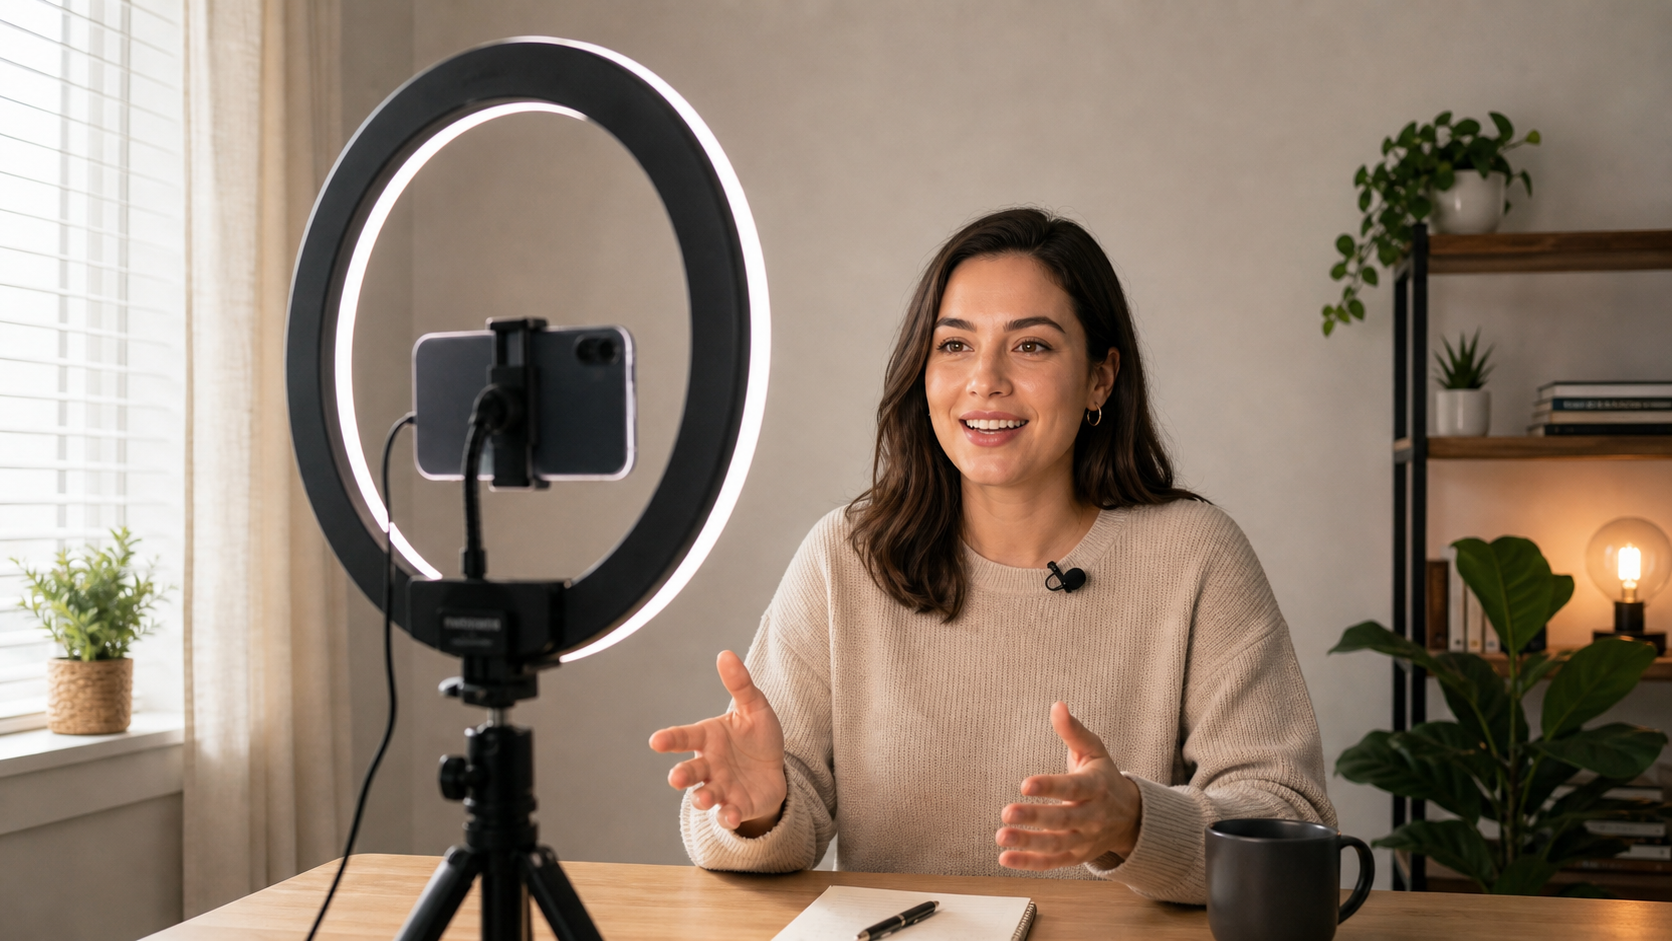
Ring light facing your camera, or a window in front of you. Proper lighting is non-negotiable for talking head video.
Step 2: Rough Cut — Silence Removal (2–5 minutes)
This is where the biggest time savings happen. Silence removal — automatically cutting all dead air, long pauses, and audio gaps — used to mean manual scrubbing. Now it's one tap.
What silence removal does: Any segment of audio that falls below a certain volume threshold for longer than a set duration gets removed. The gap closes automatically. You don't make a single manual cut.
For a 15-minute talking head recording with typical pauses between sentences, automatic silence removal cuts 20–40% of the raw footage length and produces a noticeably tighter video with no manual effort.
Fast tools for silence removal:
- BlitzCut (Mac/iPhone) — silence removal runs on-device immediately after import, no upload required. For a 10-minute recording, it completes in under 10 minutes. Under $6/month billed annually.
- Gling.ai — browser-based, targets YouTube creators specifically. Silence and filler removal via AI.
- Descript — full transcript-based editor, silence removal included. Starts at $24/month.
- TimeBolt — desktop app for silence removal with adjustable thresholds. One-time purchase.
- CapCut — mobile and desktop, Smart Cut feature removes silences.
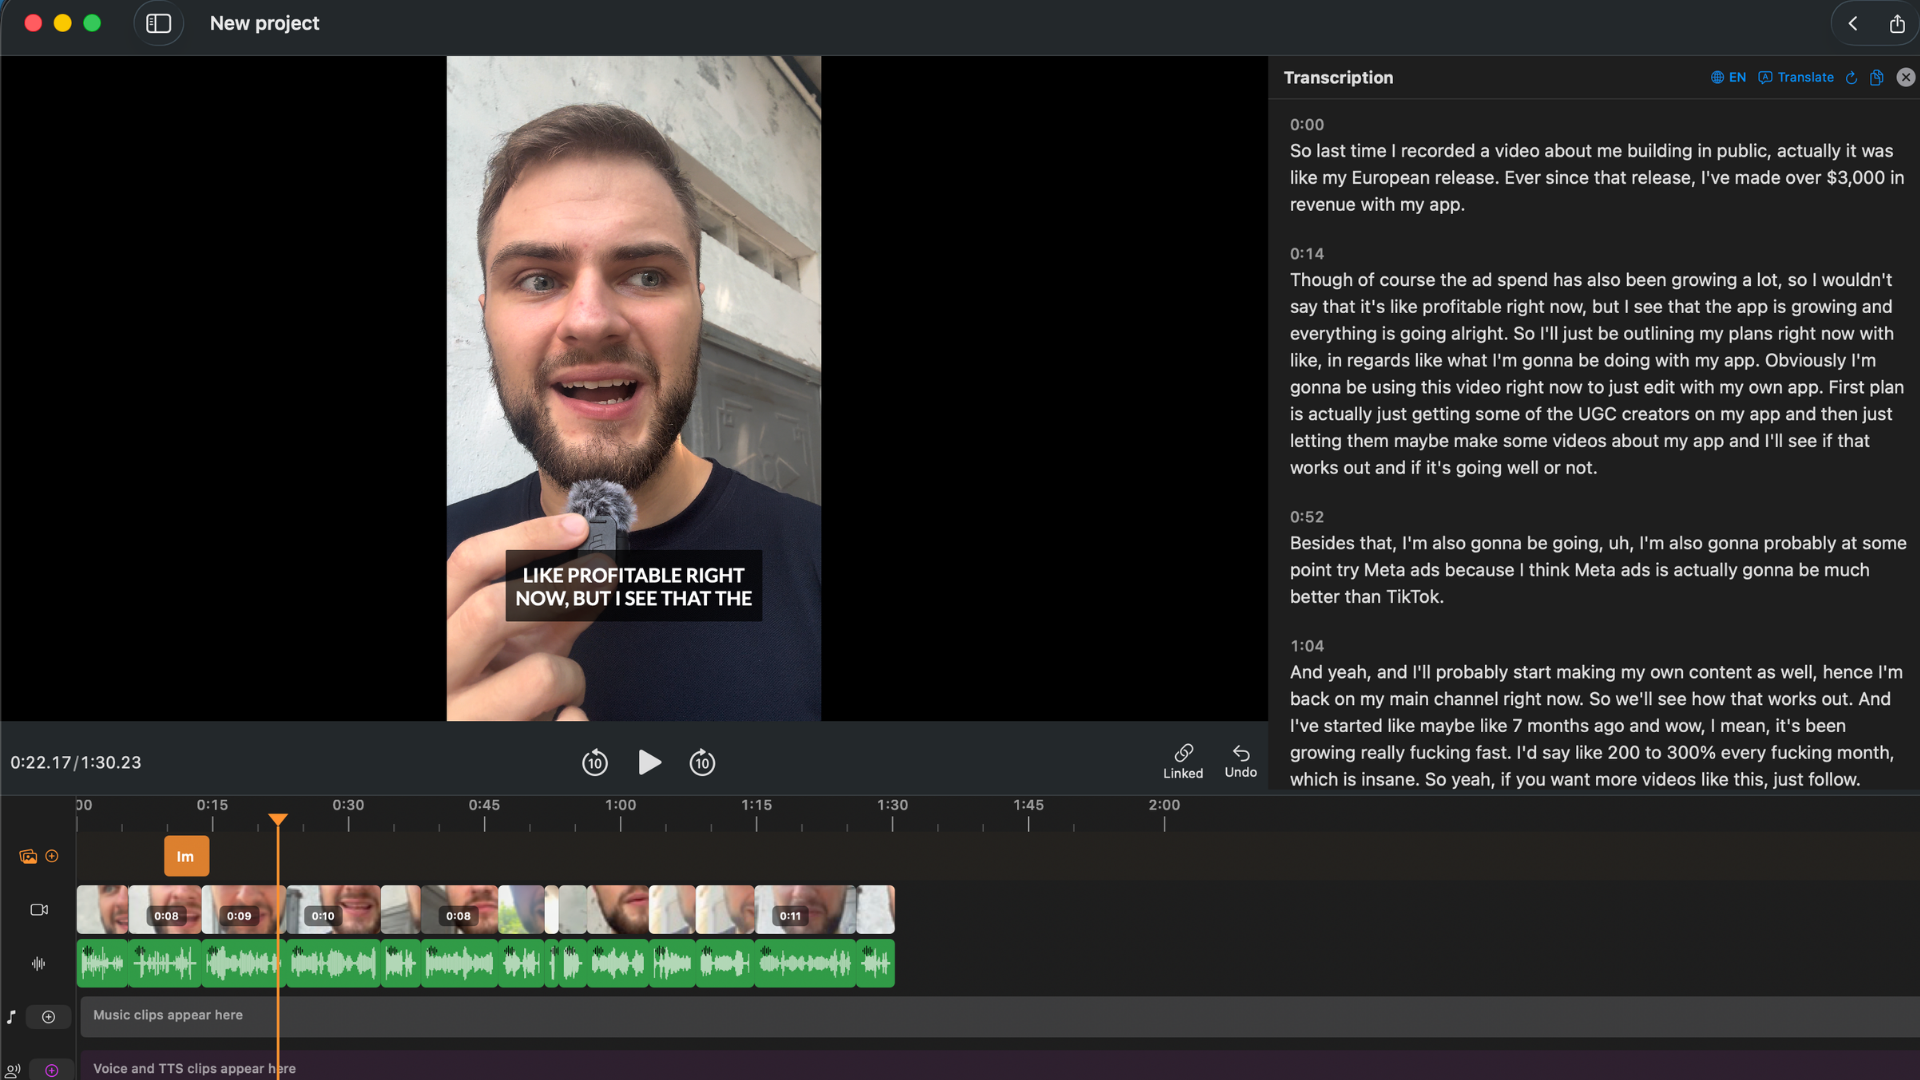
BlitzCut's silence removal runs on-device immediately after import. No upload, no waiting — the transcript is ready in under 2 minutes for a typical 10-minute video.
Step 3: Filler Word Removal (5–10 minutes)
Silence removal cuts the gaps. Filler word removal cuts the spoken words that don't belong — "um," "uh," "you know," "basically," repeated starts.
The key distinction: "um" is not silence. It has audio content. A silence remover won't catch it. You need either:
- A transcript-based editor where you can see and select each filler, or
- An AI tool that auto-detects common fillers and removes them automatically
Transcript-based approach (more control): BlitzCut and Descript both generate a full transcript after import. Every word appears as editable text. You can see every "um" and "uh" in the text, select them, and delete — the video cut happens automatically.
Scanning a text transcript for filler words takes seconds. Listening through audio to find them takes the full runtime of your video.
Auto-detection approach (faster, less control): Tools like CapCut's AI filler removal and Descript's filler word highlighter automatically identify common fillers and offer one-click removal. Faster but less accurate — words like "like" appear in legitimate contexts and can be over-removed.
Which to use: For creators posting frequently who want speed, auto-detection is fine. For client work or professional content where control matters, manual transcript editing is better.
Step 4: Captions (2–5 minutes)
85% of social video is watched with sound off. Captions are not optional — they're how you reach most of your audience.
The good news: auto-captions in 2026 are accurate enough that most editing is minor corrections, not full rewrites. Generation for a 10-minute video takes 60–90 seconds on most tools.
Caption formats that perform on social:
- Word-by-word (karaoke style) — each word highlights as it's spoken. Best performance on TikTok, Reels, and Shorts. High visual engagement.
- Single line at bottom — clean and readable. Better for long-form content where the caption shouldn't dominate the frame.
- Bold centered — large font in the center of the frame. Strong for short punchy clips.
Fast caption tools:
- BlitzCut — generates captions from the same transcript used for filler removal. One tap, three style presets including karaoke.
- CapCut — strong auto-captions, wide style library. Free on mobile.
- Descript — captions generated from the transcript, highly editable.
- VEED — web-based, strong caption accuracy and styling options.
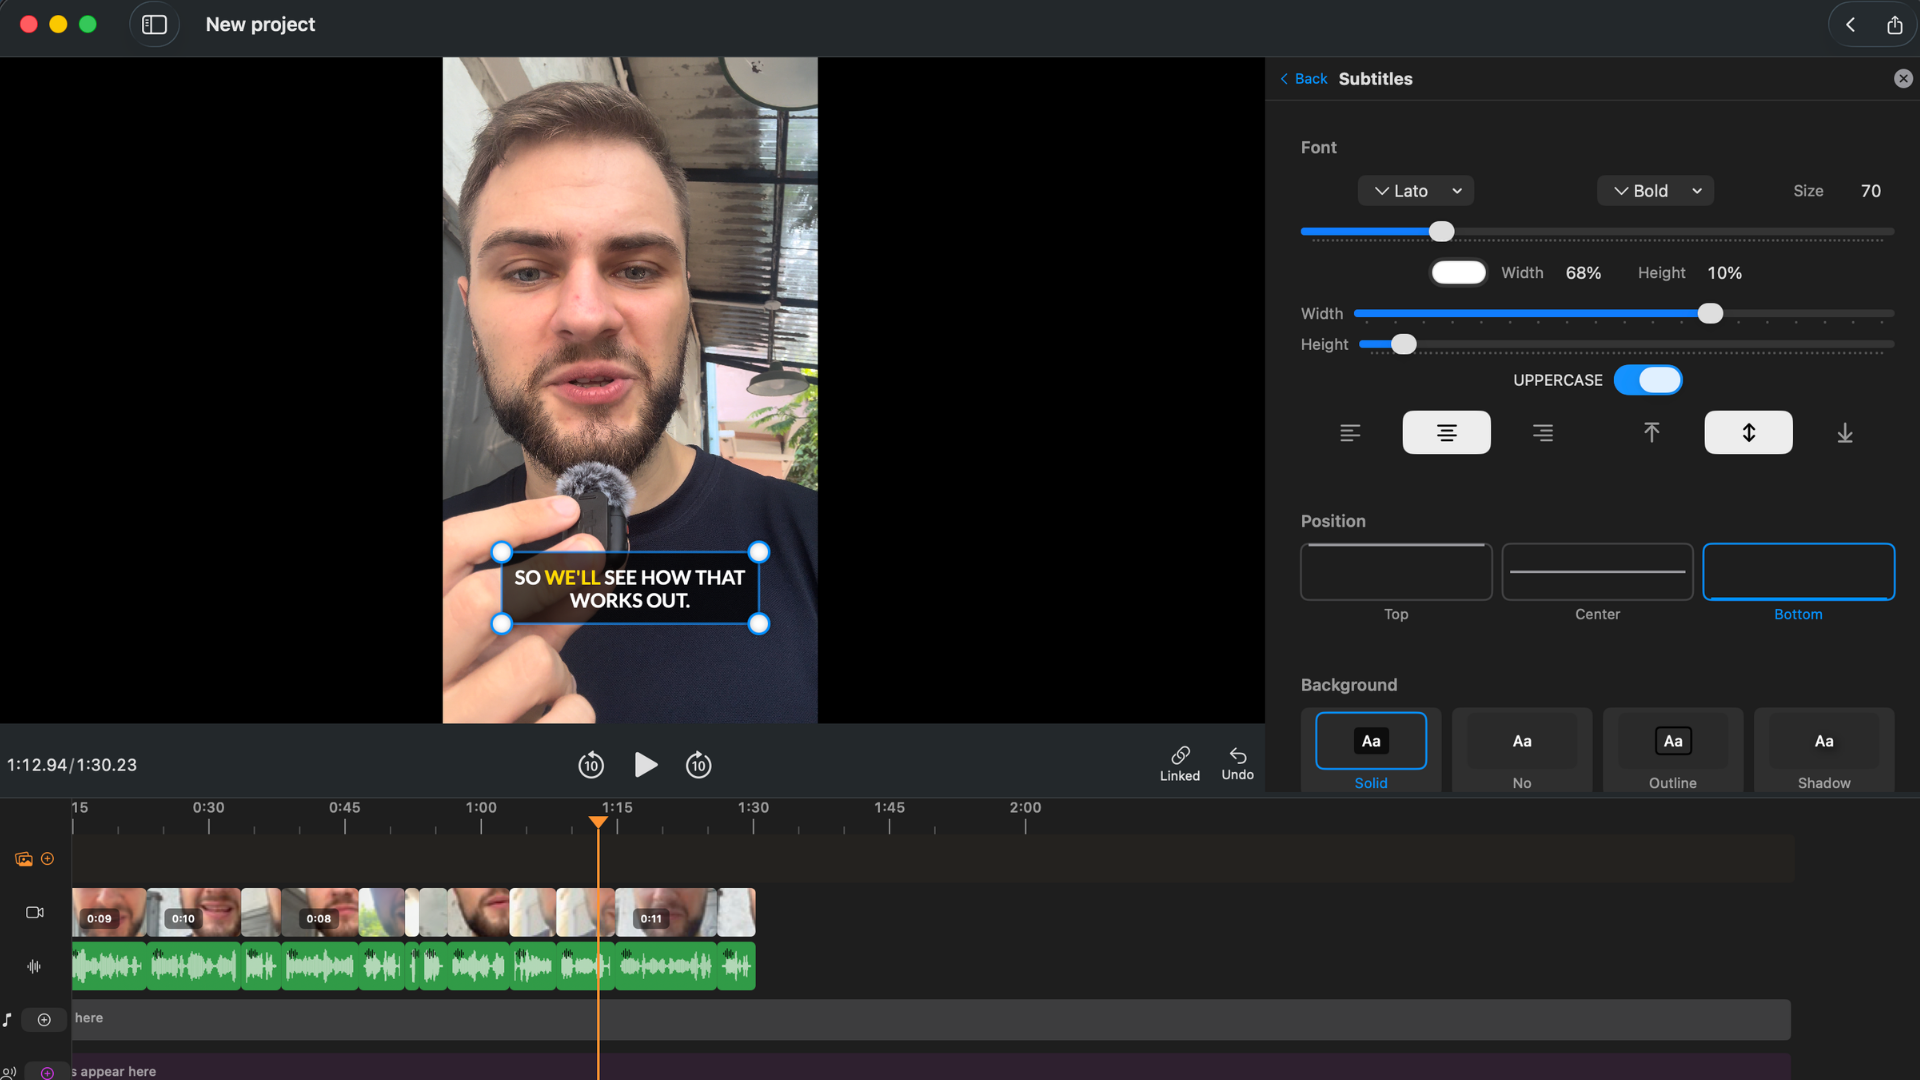
Word-by-word karaoke captions in BlitzCut. Each word highlights as it's spoken — the highest-performing caption format for short-form social video.
Step 5: B-Roll and Polish (Optional, 5–15 minutes)
B-roll is supplementary footage that covers cuts, illustrates concepts, and maintains visual interest. For talking head content, it's optional but valuable: 40–60% b-roll coverage is the target for maximum viewer retention.
Types of b-roll for talking head:
- Screen recordings (for software tutorials)
- Hands-on shots (for product demos)
- Text cards or title cards (for key points)
- Stock footage (for context or illustration)
Skip this step if: You're posting a raw talking head clip to TikTok or Shorts where the personal energy and captions carry the content. Not every talking head needs b-roll.
Include it if: You're producing YouTube tutorials, course content, or anything over 5 minutes where visual variety is needed to sustain attention.
Step 6: Export for Each Platform (2–3 minutes)
Different platforms want different formats. Export wrong and your video looks blurry, gets letterboxed, or processes slowly.
| Platform | Aspect Ratio | Resolution | Format |
|---|---|---|---|
| YouTube (long-form) | 16:9 | 1080p or 4K | H.264 MP4 |
| YouTube Shorts | 9:16 | 1080×1920 | H.264 MP4 |
| TikTok | 9:16 | 1080×1920 | H.264 MP4 |
| Instagram Reels | 9:16 | 1080×1920 | H.264 MP4 |
| 16:9 | 1080p | H.264 MP4 | |
| Twitter/X | 16:9 or 1:1 | 1080p | H.264 MP4 |
The practical rule: Export H.264 MP4 for all social platforms. It's universally accepted, compresses efficiently, and uploads faster than ProRes or HEVC.
If you shoot 16:9 (horizontal) but want vertical clips for Shorts and Reels, BlitzCut and CapCut both handle the reframe automatically — cropping for the subject and adjusting the safe zone.
Talking Head Editing Speed: Realistic Time Estimates
| Workflow | 10-min video | 30-min video |
|---|---|---|
| Manual (timeline scrubbing) | 2–4 hours | 5–8 hours |
| AI silence removal + manual cleanup | 45–90 min | 2–3 hours |
| AI silence + transcript filler removal + auto-captions | 15–30 min | 45–75 min |
The third row — full AI-assisted workflow — is achievable with BlitzCut, Descript, or a combination of tools. The time difference is not marginal. It's 4–8x faster.
Tool Comparison for Talking Head Editing
| Tool | Silence Removal | Filler Words | Captions | Platform | Price |
|---|---|---|---|---|---|
| BlitzCut | ✅ Auto, on-device | ✅ Transcript editing | ✅ Karaoke/styled | Mac, iPhone | Under $6/mo (annual) |
| Descript | ✅ Auto | ✅ Auto-detection | ✅ Yes | Mac, Windows, Web | $24/mo |
| CapCut | ✅ Smart Cut | ✅ Auto removal | ✅ Wide styles | iOS, Android, Mac | Free / Pro |
| Gling.ai | ✅ AI removal | ✅ Filler detection | ❌ External tool needed | Web | Free / $10/mo |
| TimeBolt | ✅ Auto | ❌ Manual | ❌ Manual | Mac, Windows | $79 one-time |
| iMovie | ❌ Manual | ❌ Manual | ⚠️ Basic | Mac, iPhone | Free |
| Adobe Premiere | ⚠️ Text-based edit | ⚠️ Manual workflow | ✅ Yes | Mac, Windows | $22.99/mo |
What this table means in practice: If you're editing talking head content more than twice a week, doing it manually in iMovie is not a competitive approach. The AI tools in the table above have overlapping features — pick one or two that cover your workflow.
BlitzCut is one of the fastest options for Mac and iPhone users specifically, and at under $6/month billed annually it's one of the cheaper purpose-built tools in this category. Descript is more powerful for long-form editing but costs 4x more. CapCut is free and strong on mobile.
The 5 Most Common Beginner Mistakes
1. Editing Before the Rough Cut Is Done
Adding transitions, music, and titles before you've locked the structure means you'll redo that work after every structure change. Always finish the rough cut (silence + fillers) before touching anything else.
2. Not Cutting the First 30 Seconds
Most raw recordings start with setup noise, awkward intros, and cleared throats. Cut everything before the video starts delivering value. Viewers decide whether to keep watching in the first 3 seconds — don't waste them.
3. Keeping Takes That Should Be Deleted
If a take is bad, cut it. Beginners often keep flawed takes because they spent time recording them. Sunk cost applies to video footage, too. The viewer has no idea how many takes it took.
4. Exporting Without Watching Back
Play the final edit before exporting. Watch for audio gaps that closed awkwardly, cut lines that now don't make sense, and caption errors. A 3-minute review catches 90% of problems.
5. Skipping Captions
Every uncaptioned video loses the majority of viewers who watch on mute. Auto-captions take 90 seconds to generate. There's no reason not to.
The Fastest Workflow Summary
For a talking head creator posting to social media regularly, this is the fastest path from raw footage to published video:
- Record with outline, clean background, good light, external mic
- Import to BlitzCut → silence removal runs automatically
- Review transcript → delete filler words by text selection
- Generate captions → karaoke style for social, clean style for long-form
- Add b-roll if needed (optional)
- Export as H.264 MP4 in the correct aspect ratio for each platform
Total: 15–30 minutes for a 10-minute talking head video.
Frequently Asked Questions
What's the best app for editing talking head videos on Mac?
For talking head content specifically — silence removal, filler word editing, and captions — BlitzCut is one of the fastest Mac options. It's a native Mac app under $6/month billed annually. For longer-form content where you need full transcript editing, Descript covers more complex workflows but costs significantly more. Final Cut Pro handles everything but has no built-in silence or filler removal.
How do I make my talking head videos more engaging?
Remove silences and filler words so the pacing feels tight. Add animated captions. Cut to a new angle or b-roll clip every 30–45 seconds. Start with a strong hook (something that makes the viewer want to keep watching) and cut everything before the hook.
Do I need a professional camera to make good talking head videos?
No. A modern iPhone or mid-range Android phone produces enough quality for most online platforms. The bigger leverage points are lighting (face toward natural light or use a ring light) and audio (external mic, even a cheap one). Camera quality is the lowest-priority upgrade.
How do I edit talking head videos for YouTube Shorts?
Export in 9:16 aspect ratio at 1080×1920. Use animated captions — they perform well in the Shorts feed. Keep length between 30 and 60 seconds for best algorithmic performance. Make sure no key visual elements (your face, your text, your graphics) are in the bottom 25% of the frame — YouTube's UI covers that zone.
How many takes should I do when recording?
As few as possible. One or two takes for most clips. Preparation is the lever — an outline reduces retakes more than any other single change. After recording, AI filler removal means imperfect takes are salvageable; you don't need to re-record for every "um."
What frame rate should I use for talking head video?
30fps for standard talking head content. 60fps for any content with significant movement. Most social platforms cap display at 30fps anyway, so 60fps provides limited visual benefit for talking head and creates larger file sizes.
Related: How to Remove Filler Words from Video · Auto Caption Generator for Mac 2026 · Video Editing Workflow for Beginners on Mac
Post every day without spending hours editing
BlitzCut is a native App Store app for iPhone, iPad and on Mac. Get from raw footage to TikTok-ready in under 2 minutes, so editing is never the reason you didn't post.
Download BlitzCut on the App StoreRelated Articles
Keep Reading

Best Podcast Clip Makers in 2026 (Honest Comparison)
The best podcast clip makers compared: Opus Clip, Vizard, Riverside, Descript, and BlitzCut — ranked by how you actually clip, with real tradeoffs and pricing.

Best Teleprompter Apps for iPhone in 2026 (Tested)
The best teleprompter apps for iPhone: Teleprompter Premium, PromptSmart Pro, BIGVU, and free options compared — plus the editing step that makes prompter footage watchable.

How to Edit a VSL That Converts (2026 Guide)
How to edit a video sales letter: cut dead air, tighten the script after recording, add captions for muted autoplay, and pace the pitch — with the exact workflow.