How to Film and Edit a TikTok in Under 10 Minutes (2026 Guide)
Film and edit a TikTok in under 10 minutes — phone setup, lighting, fastest editing apps, captions, and correct export settings for 2026.

Most creators overthink TikTok. Film it in 5 minutes with a phone, a little light, and a plan. Edit it in 5 minutes with an app that adds captions automatically. Post it. That's the workflow. This guide breaks it down into exactly what to do.
The creators producing consistent TikTok content in 2026 are not spending 3 hours per video. They're spending 10–20 minutes on a good day, and some of them are publishing daily. The difference isn't a Hollywood studio — it's a repeatable system.
If you're new to TikTok or feel overwhelmed every time you try to create, this guide gives you that system.
What You Actually Need (And What You Don't)
Before the workflow, let's kill the myth that you need expensive gear.
What you actually need:
- Smartphone (iPhone or Android from the last 4 years)
- Natural light or a $20–40 ring light
- Something to prop your phone on (a tripod, a stack of books, literally anything)
- An outline of 3–5 points you want to make
What you don't need:
- DSLR or mirrorless camera
- Professional microphone (helpful but not required to start)
- Complex editing software
- A studio or dedicated filming space
The most common reason beginner TikToks look bad is lighting and framing — not camera quality. A well-lit iPhone shot beats a poorly lit DSLR shot every time.
Part 1: Film It in 5 Minutes
Step 1: Set Up Your Framing (1 minute)
Go vertical. TikTok is a 9:16 platform. Hold your phone vertically before you record a single frame. Filming horizontal and cropping to vertical wastes editing time and degrades quality. If you have to remind yourself: turn the phone, then open the camera.
Place the camera at eye level. Not above you (unflattering), not below you (worse). Eye level creates a natural, direct connection with the viewer. Stack books under your phone or use a tripod.
Leave headroom above your head. Your face should be in the center-to-lower-center of the frame, not squashed at the top. TikTok's UI covers the bottom 25% of the frame with your username and caption — don't put important elements there.
Center yourself. For talking head TikToks, a centered subject with a clean background is the default. You can break this once you know the rules.
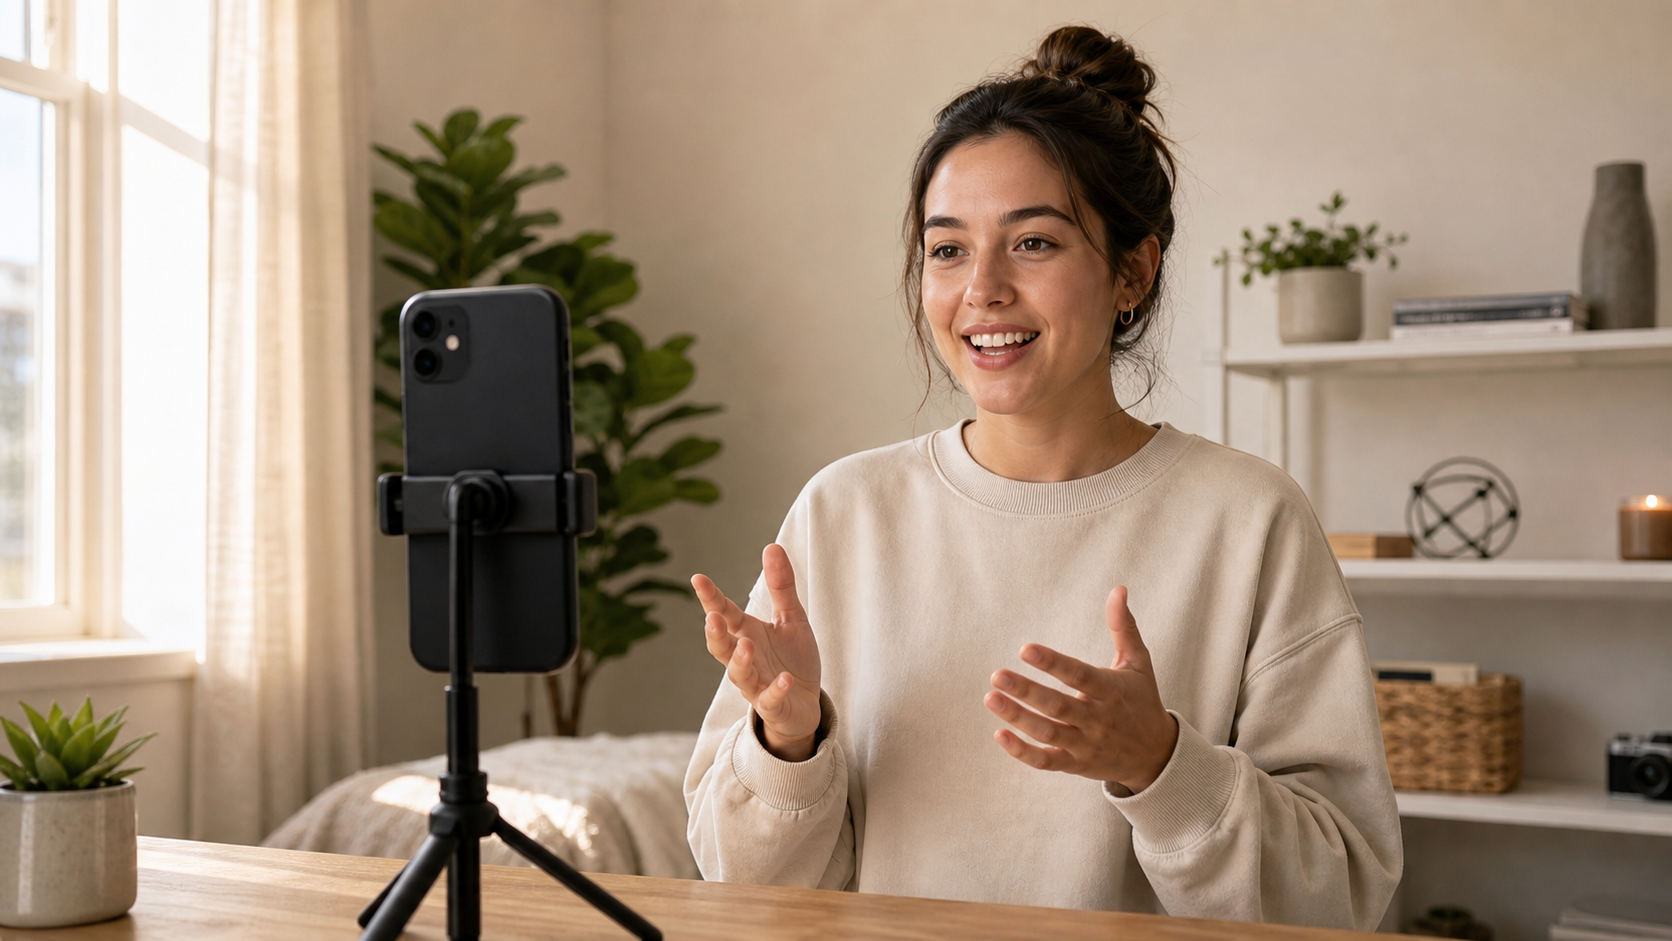
Phone vertical, at eye level, on a tripod or propped surface. This is the entire gear setup you need to start.
Step 2: Get Your Lighting Right (1 minute)
Lighting is the difference between a video that looks professional and one that looks filmed in a cave. You don't need an expensive kit.
Option A — Free: Face a window. Natural light from a window directly in front of you (not behind you) produces even, flattering light with no equipment. This is the setup most lifestyle creators use. Overcast days are actually better than direct sun — the light is diffused and softer.
Option B — Cheap: Ring light ($20–40). A ring light placed directly in front of you at face height fills shadows evenly and gives the characteristic catchlight in the eyes that signals quality production. This is the standard beginner upgrade.
What to avoid:
- Light source behind you = silhouette, face in shadow
- Overhead lighting only = harsh shadows under eyes and chin
- Multiple mismatched light sources = inconsistent color, looks amateurish
- Darkness = the camera compensates with noise, video looks grainy
One-sentence test: If you can read a book by the light on your face, you have enough light.

Clean backgrounds help keep the viewer's attention on you, not on what's behind you. A plain wall works perfectly.
Step 3: Prep Your Content (1 minute)
The biggest filming time sink is not knowing what to say. Three retakes become ten and your 5-minute filming session becomes 40 minutes.
Write a 3-point outline. Not a script — an outline. Three bullets. "Point 1: X. Point 2: Y. Point 3: Z." Knowing where you're going drastically reduces filler words, dead air, and off-track tangents.
Hook first. Your first 1–3 seconds determines whether the viewer stays or scrolls. The TikTok algorithm weights watch-time heavily — a good hook that retains viewers in the first 3 seconds can lift overall performance significantly.
Strong hook formats:
- Question: "Why do most beginners get this completely wrong?"
- Counterintuitive statement: "Spending more time on your videos is making them worse."
- Number: "3 things no one tells you about starting a TikTok channel."
- Relatable problem: "You've spent 2 hours editing a 30-second video. Here's how to stop doing that."
Clean your lens. Check your phone camera lens before every shoot. A smudged lens creates soft, low-contrast footage that looks bad even in good light. This takes 5 seconds and is skipped by most beginners.
Step 4: Record (2 minutes)
Open your phone's native camera app (better quality than recording in-app in most cases). Set to video, vertical orientation, 1080p at 30fps.
For talking head TikToks: Do 1–2 takes. If you're stumbling, do a warm-up take first (record it but plan to discard it) — your second take will be significantly cleaner.
Tips while recording:
- Speak slightly slower than you think you need to. It feels awkward to you; it feels clear to the viewer.
- When you lose your thought, pause silently rather than filling with "um." Silent pauses cut cleanly.
- Look at the lens, not the screen. Lens-to-lens contact is screen-to-screen contact for the viewer.
- Don't stop if you make a mistake — keep rolling and fix it in editing. Stopping and restarting breaks your flow and creates unnecessary takes.
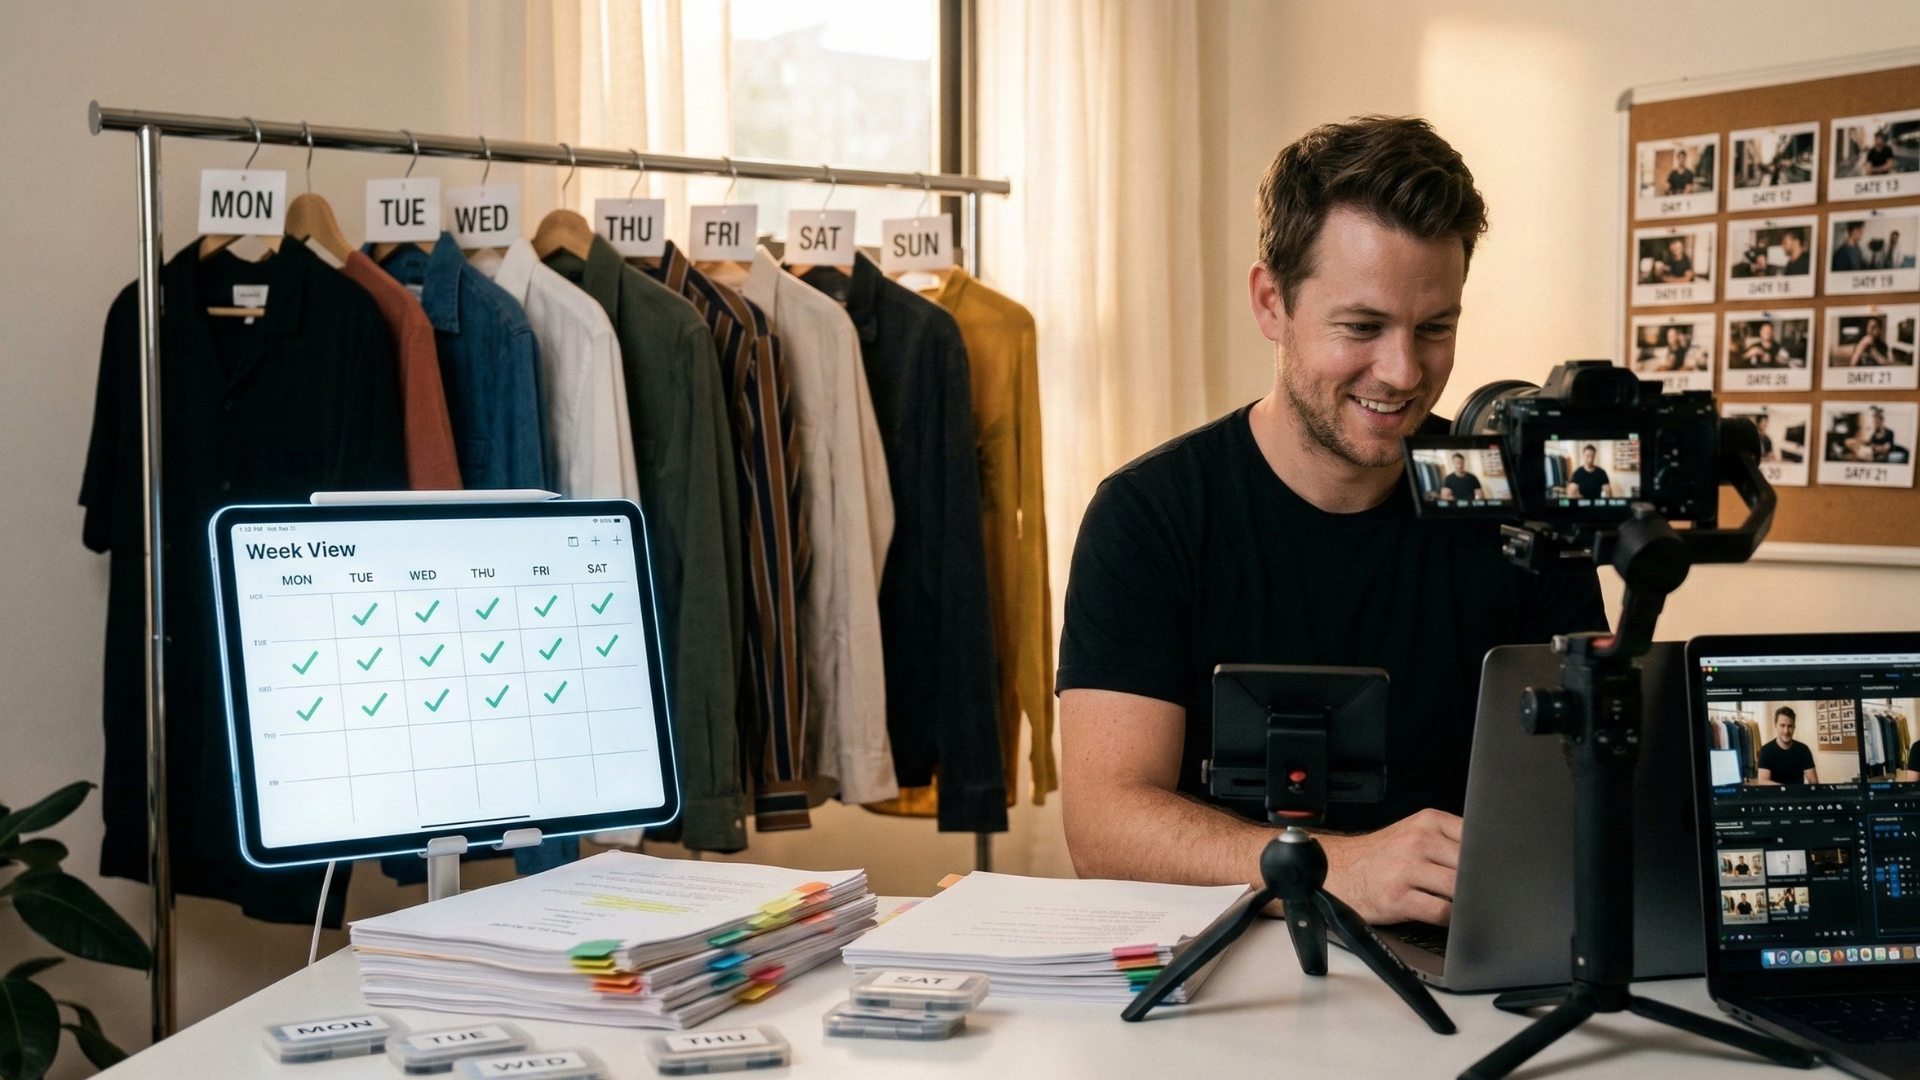
Experienced creators batch their filming — recording 5–10 TikToks in a single session while the setup is ready. Same concept applies when you're short on time.
Part 2: Edit It in 5 Minutes
You have a 2–3 minute raw recording with dead air, maybe a couple of filler words, and a good take somewhere in there. Here's how to turn it into a polished TikTok in 5 minutes.
Step 5: Import and Remove Silences (1–2 minutes)
The first edit on any talking head video is silence removal. Every pause between sentences, every moment you were thinking, every gap where nothing happened — those cut automatically.
Fast options:
BlitzCut (Mac/iPhone): Import the clip, silence removal starts immediately on-device. For a 2-minute clip, it's done in under 60 seconds. No upload, no cloud processing. Under $6/month billed annually — one of the cheaper options for this workflow. The transcript is ready in another 60 seconds.
CapCut: Open the clip, go to AI Tools → Smart Cut (Auto Cut). CapCut identifies and removes silences automatically. Free on iOS and Android.
TikTok native editor: Limited silence removal capabilities, but built-in trimming to cut the beginning and end of clips.
Step 6: Trim the Ends and Cut Anything Weak (1 minute)
Cut the first few seconds before you start talking. Cut anything after you finish your last point. Viewers don't need to see you reaching for your phone.
Review the trimmed clip once. If there's a section that feels slow or off-track, cut it. Trust your gut — if something feels wrong on playback, it will feel wrong to the viewer too.
Step 7: Add Captions (1 minute)
Captions are not optional on TikTok. 80% of top-performing TikToks use captions. Most viewers watch with the sound off.
The fastest caption workflow in 2026: Use auto-captions. Every major editing app generates them automatically.
- BlitzCut: One tap after the transcript is generated — word-by-word animated captions in seconds.
- CapCut: Text → Auto Captions → Apply. Takes about 30 seconds.
- TikTok native: When posting, TikTok offers auto-captions you can turn on — quickest path but least stylized.
Caption placement: Keep captions in the center of the frame or upper-center. Avoid the top strip (platform navigation) and the bottom 25% (your username and description text).
Caption style for TikTok: High-contrast works best. White text with a dark outline or background. Word-by-word animation (karaoke style) gets strong engagement — each word lights up as it's spoken.
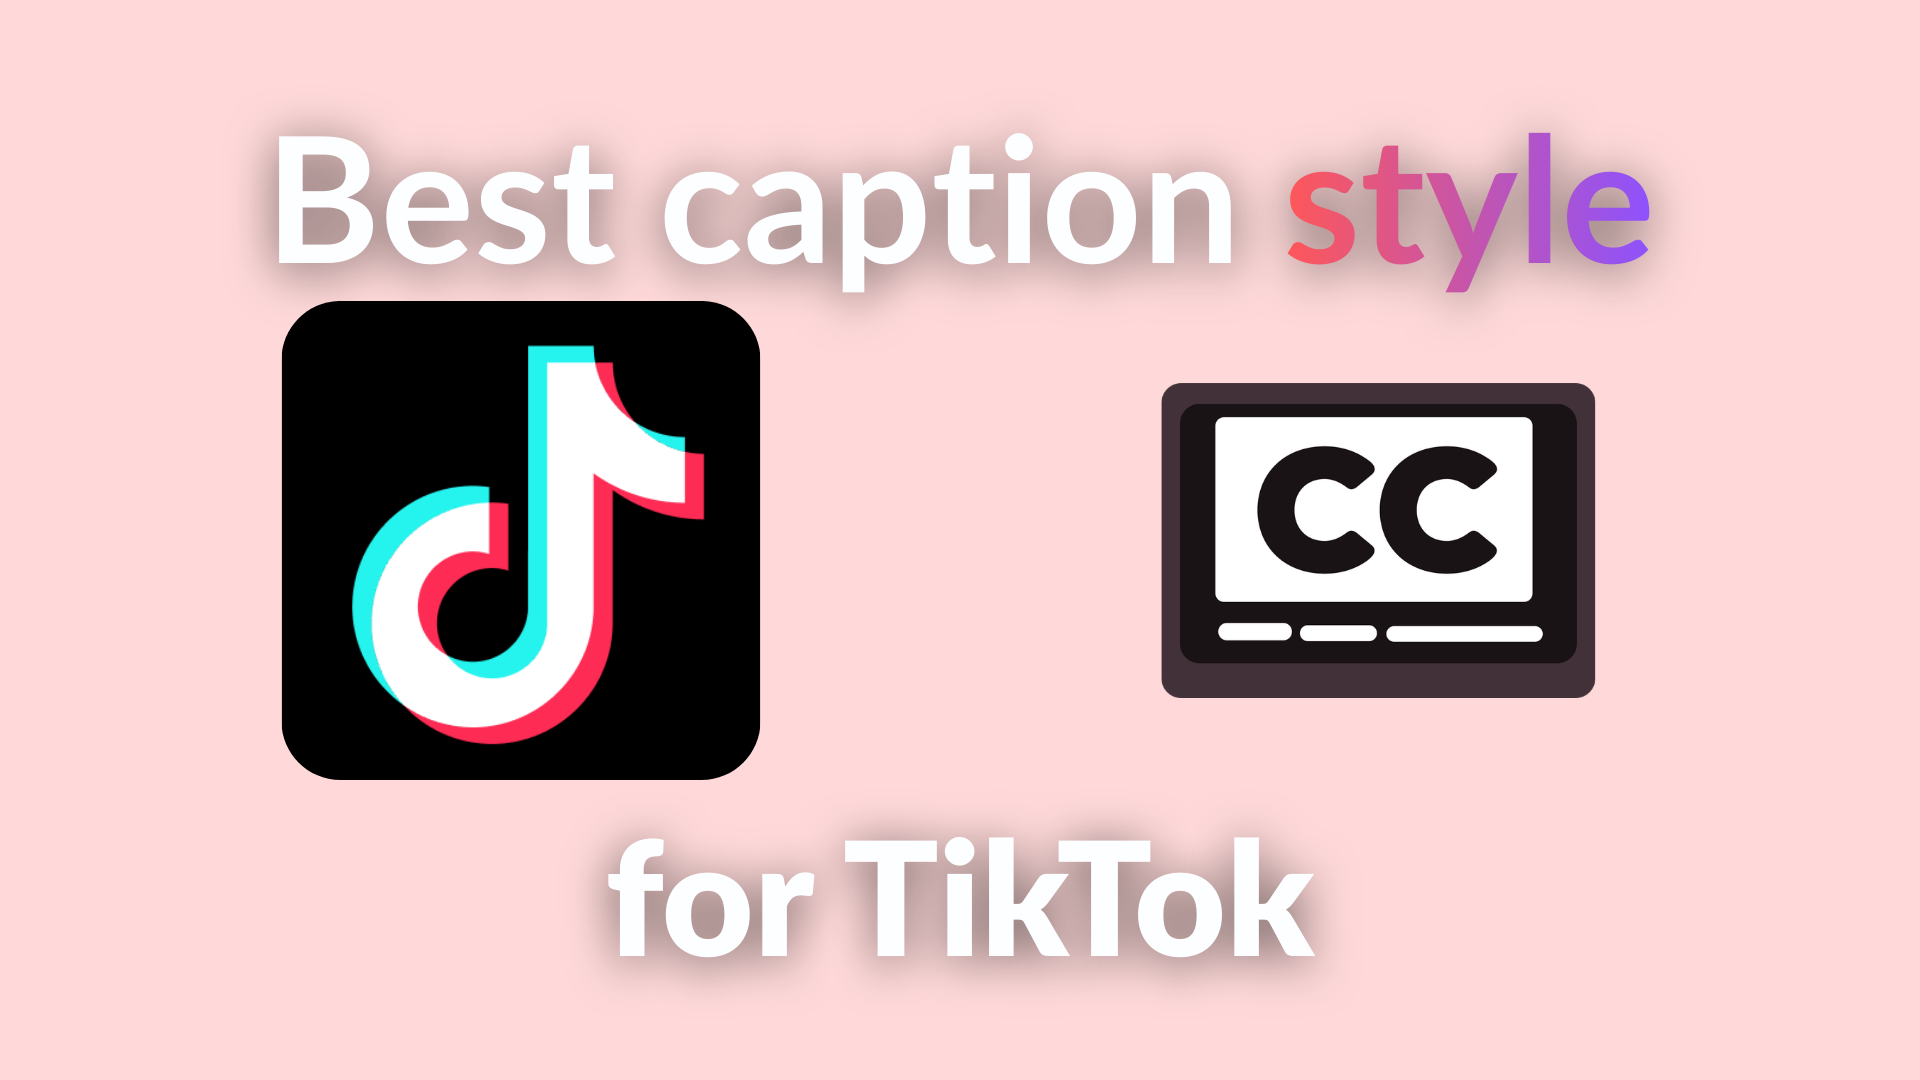
High-contrast word-by-word captions. Each word highlights as it's spoken, keeping viewers reading along and reducing scroll-away.
Step 8: Add Sound (Optional, 30 seconds)
Trending audio on TikTok can help with discovery — content using trending sounds gets boosted in the For You feed. If relevant, use the TikTok audio library to add a trending sound at low volume underneath your voice.
If your content is primarily spoken word (educational, commentary), a subtle music track is optional. Don't add music that distracts from what you're saying.
Skip this step if you're under the 10-minute goal and the content stands on its own without music.
Step 9: Export and Post (1 minute)
Export settings for TikTok:
| Setting | Value |
|---|---|
| Aspect ratio | 9:16 (vertical) |
| Resolution | 1080×1920 |
| Frame rate | 30fps |
| Format | MP4 (H.264) |
| Max file size | 287.6 MB (iOS) |
Most editing apps handle this automatically if you select "TikTok" or "Vertical" as your export preset.
When posting: Enable "Allow high-quality uploads" in TikTok Settings → Privacy → Data. This prevents TikTok from compressing your video more than necessary. Write a caption with 1–3 relevant hashtags (don't over-hash). Add a description that gives context.
The 10-Minute Timeline
| Minute | What you're doing |
|---|---|
| 0:00–1:00 | Set up phone vertically, adjust framing, check light |
| 1:00–2:00 | Write 3-point outline, prep hook |
| 2:00–4:00 | Record 1–2 takes |
| 4:00–5:00 | Import to editing app, silence removal starts |
| 5:00–6:00 | Trim ends, cut weak sections |
| 6:00–7:00 | Add auto-captions |
| 7:00–8:00 | Correct any caption errors, style check |
| 8:00–9:00 | Optional: add music, final review |
| 9:00–10:00 | Export, write caption, post |
This is aggressive. Some days it takes 15 minutes. Some days 8. The point is that it's achievable without a studio or a production team.
Fast TikTok Editing Apps Compared
| App | Silence Removal | Auto-Captions | TikTok Templates | Platform | Price |
|---|---|---|---|---|---|
| BlitzCut | ✅ Automatic | ✅ Animated | ❌ | iPhone, Mac | Under $6/mo (annual) |
| CapCut | ✅ Smart Cut | ✅ Wide styles | ✅ Many | iOS, Android, Mac | Free / Pro |
| InShot | ❌ Manual | ✅ Auto | ⚠️ Limited | iOS, Android | Free / Pro |
| TikTok native | ❌ Manual | ✅ Basic | ✅ Trending | iOS, Android | Free |
| VN (Vlog Now) | ❌ Manual | ✅ Yes | ⚠️ Limited | iOS, Android, Mac | Free |
| Splice | ❌ Manual | ✅ Yes | ⚠️ Limited | iOS, Android | Free / $2.99/mo |
How to choose: If your TikToks are primarily talking head or educational content, BlitzCut or CapCut's silence removal saves the most time. If you're doing quick cuts, music sync, and lifestyle content, InShot or CapCut's template library is faster. TikTok's native editor is the fastest path for simple in-app recording and immediate posting.
TikTok Specs Reference 2026
| Spec | Value |
|---|---|
| Aspect ratio | 9:16 (vertical) — recommended |
| Resolution | 1080×1920px |
| Max video length | 10 minutes (in-app), 60 minutes (uploaded) |
| Best-performing length | 15–60 seconds |
| Format | MP4 (iOS MOV also accepted) |
| Frame rate | 30fps (60fps for high-motion) |
| Max file size | 287.6 MB (iOS), 72 MB (Android), 2GB for longer uploads |
Keep videos under 60 seconds for best algorithmic distribution unless your content type specifically benefits from longer format (tutorials, storytime).
7 Mistakes That Slow Creators Down
1. Filming Horizontal
Shoot vertical. Every time. If you have footage in 16:9 and need to convert, the crop loses resolution and the subject gets cut off. Set your camera to vertical before you open the app.
2. No Outline = Too Many Takes
Three bullets on a notepad cuts filming time in half. You don't need a full script. You need to know where the video is going.
3. Manually Removing Silences
If you're using the blade tool to cut every pause manually, you're doing it the hard way. CapCut's Smart Cut and BlitzCut's silence removal both do this automatically in under a minute.
4. Over-Editing
Transitions, effects, stickers — a TikTok with 15 visual effects is harder to watch, not easier. Clean cuts and good captions outperform over-stylized edits.
5. Ignoring the Hook
If your video starts with "Hey everyone, today I want to talk about..." — that's a fast scroll. Open with the most compelling part of your video. The rest is context.
6. Skipping Captions
80% of top TikToks use captions. Many viewers watch on mute. Captions keep viewers watching longer, which tells the algorithm your content is worth showing more people.
7. Waiting Until It's Perfect
Posting a good video today beats posting a perfect video next week. The algorithm rewards consistency. Ship it.
Frequently Asked Questions
What's the fastest app to edit TikToks?
For talking head content: BlitzCut (silence removal is automatic, captions in one tap) or CapCut (strong AI tools, free, direct TikTok integration). For simple cuts without spoken word: InShot or TikTok's native editor.
Do I need to edit TikToks in an app or can I use my computer?
Both work. CapCut and BlitzCut have Mac desktop apps. Many creators find phone editing faster for short-form content because the footage is already on the phone and the export goes directly to TikTok.
How long should a TikTok be in 2026?
The sweet spot for most content types is 15–60 seconds. Longer videos (up to 10 minutes) can perform well for tutorials and story-driven content, but they require strong audience retention throughout. If you're new, start in the 30–60 second range.
Can I upload 4K to TikTok?
TikTok accepts 4K uploads but displays them at 1080p. Uploading 4K doesn't give a visible quality benefit in the feed. Record at 1080p or shoot in 4K if you want flexibility to crop later — but don't expect the extra resolution to be visible to viewers.
Why does my TikTok look blurry after uploading?
Two common causes: (1) TikTok's compression on upload — enable "Allow High Quality Uploads" in Settings → Privacy → Data. (2) Wrong export settings — make sure you're exporting at 1080p H.264, not at 720p or in a format TikTok has to re-encode aggressively.
Do I need trending audio to get views on TikTok?
Trending audio can help with initial distribution, but it's not required. Strong content — a good hook, tight pacing, captions, and genuine value — performs without trending audio. For creators whose content is primarily spoken word (education, commentary), original audio performs well with consistent posting.
How do I add captions to TikTok automatically?
Three ways: (1) In CapCut, go to Text → Auto Captions → Generate. Takes 30 seconds. (2) In BlitzCut, captions generate from the transcript after import — one tap. (3) When uploading directly to TikTok, enable "Auto Captions" in the posting flow — the platform generates basic captions automatically.
Related: Best AI Video Editor for TikTok · Best Caption Style for TikTok · How to Remove Filler Words from Video
Post every day without spending hours editing
BlitzCut is a native App Store app for iPhone, iPad and on Mac. Get from raw footage to TikTok-ready in under 2 minutes, so editing is never the reason you didn't post.
Download BlitzCut on the App StoreRelated Articles
Keep Reading

Best Podcast Clip Makers in 2026 (Honest Comparison)
The best podcast clip makers compared: Opus Clip, Vizard, Riverside, Descript, and BlitzCut — ranked by how you actually clip, with real tradeoffs and pricing.

Best Teleprompter Apps for iPhone in 2026 (Tested)
The best teleprompter apps for iPhone: Teleprompter Premium, PromptSmart Pro, BIGVU, and free options compared — plus the editing step that makes prompter footage watchable.

How to Edit a VSL That Converts (2026 Guide)
How to edit a video sales letter: cut dead air, tighten the script after recording, add captions for muted autoplay, and pace the pitch — with the exact workflow.